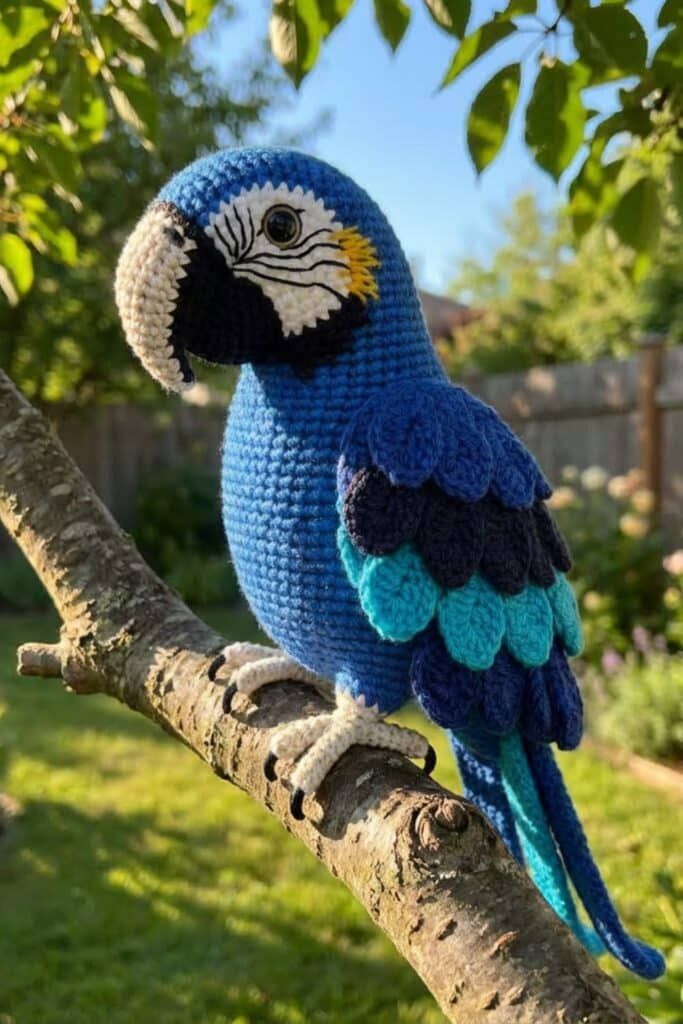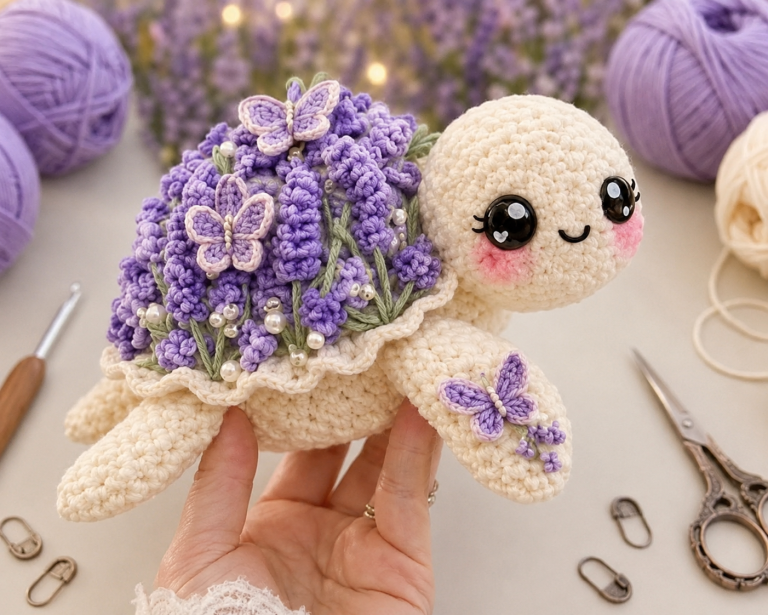
Lavender Turtle Crochet Pattern

Amigurumi Dentist Doll – tutorial is a creative and charming crochet project that allows you to craft a detailed and playful character inspired by the world of dentistry. By following the Amigurumi Dentist Doll – tutorial, you can create a unique handmade doll that is perfect for gifts, decorations, or educational purposes.
One of the most interesting aspects of the Amigurumi Dentist Doll – tutorial is its level of detail. From the outfit to the small accessories, this project gives you the opportunity to explore creativity while practicing amigurumi techniques. It’s a fun way to bring personality into your crochet work.
In this complete Amigurumi Dentist Doll – tutorial, you will learn how to choose materials, crochet the main body parts, add details and accessories, and assemble everything into a finished doll. This project is suitable for intermediate crocheters, but beginners with patience can also achieve great results.

The first step in the Amigurumi Dentist Doll – tutorial is gathering all the materials needed for a successful project.
Cotton yarn is highly recommended because it provides structure and clean stitch definition.
Choose skin-tone yarn along with white and colored yarns for clothing and details.
A crochet hook that matches your yarn weight is essential for proper tension.
You will need stuffing material to give the doll its shape.
A yarn needle and scissors are necessary for assembly and finishing.
Optional safety eyes or embroidery thread can be used for facial features.
The foundation of the Amigurumi Dentist Doll – tutorial is creating the main body components.
Start with a magic ring to form the head.
Work in continuous rounds using single crochet stitches.
In the Amigurumi Dentist Doll – tutorial, increasing and decreasing stitches shapes the head and body.
Crochet separate pieces such as arms, legs, and torso.
Maintain consistent tension for a smooth and even finish.
Stuff each part as you go to achieve the desired firmness.
The next step in the Amigurumi Dentist Doll – tutorial is adding the details that bring the doll to life.
Embroider the face with eyes, nose, and mouth.
Create a dentist outfit using white yarn or fabric pieces.
In the Amigurumi Dentist Doll – tutorial, small details make a big difference in realism.
Add accessories such as a tiny toothbrush or dental tools.
You can also create hair using yarn in your preferred style.
These features give personality and uniqueness to your doll.
The final stage of the Amigurumi Dentist Doll – tutorial is assembling all parts and finishing the project.
Attach the head, arms, and legs securely to the body.
Position each piece carefully to maintain balance and symmetry.
Weave in all loose ends for a clean and durable finish.
In the Amigurumi Dentist Doll – tutorial, neat assembly enhances the final look.
Adjust stuffing if needed to refine the shape.
Once completed, your doll is ready to be displayed or gifted.
Is this pattern suitable for beginners?
It is better suited for intermediate crocheters, but beginners can try with patience.
What yarn is best for amigurumi dolls?
Cotton yarn is ideal because it provides structure and durability.
How long does it take to complete?
It may take several hours or a couple of days depending on experience.
Can I customize the doll?
Yes, you can change colors, hairstyles, and accessories.
Do I need safety eyes?
No, you can use embroidery as a safe alternative.
Is this a good gift idea?
Yes, it makes a unique and thoughtful handmade gift.
The Amigurumi Dentist Doll – tutorial is a fun and rewarding crochet project that allows you to create a detailed and meaningful handmade character. It combines creativity, technique, and personalization in one engaging project.
In this tutorial, you learned how to select materials, crochet the main body parts, add realistic details, and assemble the final doll. Each step contributes to a unique and high-quality result.
Projects like the Amigurumi Dentist Doll – tutorial highlight how crochet can be used to create expressive and imaginative designs. This doll is perfect for decoration, gifting, or educational purposes.
If you enjoyed this tutorial, feel free to leave your honest opinion and share your suggestions. Your feedback helps inspire more creative crochet ideas and patterns.