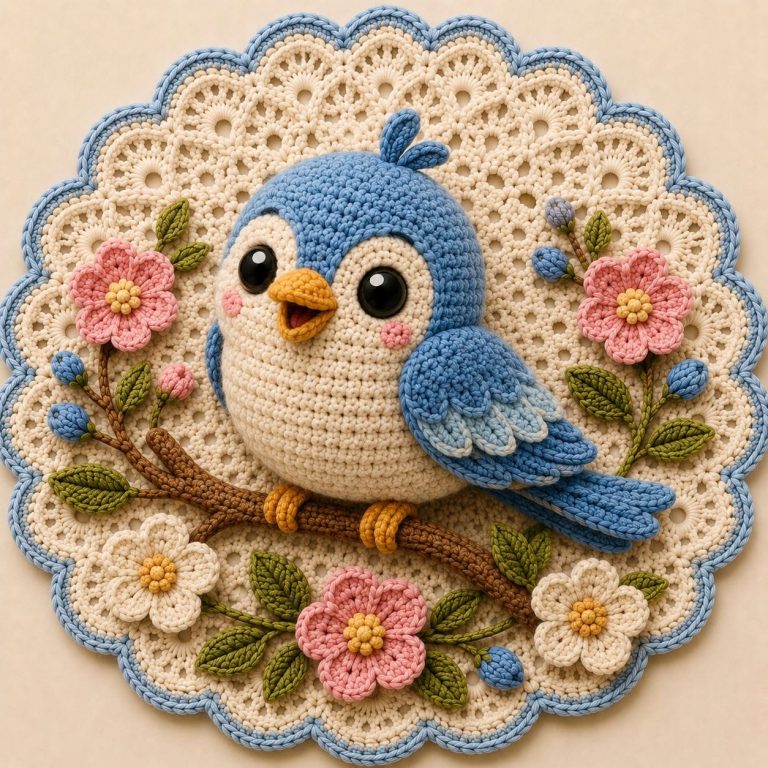
Easy Crocheted Dog Sweater

The Animal Coaster Set – Tutorial is a delightful and creative crochet project perfect for anyone who loves adding personality and charm to their home décor. Right from the first stitches, this pattern invites you to explore color, texture, and adorable character details that turn simple coasters into small works of art. Throughout this article, we will explore how the Animal Coaster Set – Tutorial can enhance your crochet skills while giving you a fun set to display or gift. This project is beginner-friendly, quick to make, and wonderfully customizable. Working through these steps will help you create pieces that are practical, long-lasting, and irresistibly cute.
Whether you’re decorating your table, making gifts, or adding items to your small craft shop, the Animal Coaster Set – Tutorial offers endless possibilities. Each coaster can represent a different animal—cats, bears, bunnies, frogs, puppies, or any creature that inspires your creativity. The versatility of this pattern makes it a must-try for crochet lovers who enjoy experimenting with different designs. At the same time, it helps strengthen essential crochet techniques that you’ll use in many future projects.
Before diving into the step-by-step explanation, remember that using quality cotton yarn is ideal for coasters since it absorbs moisture well and withstands daily use. As you follow this guide, feel free to mix colors, personalize facial details, and create a coaster collection that feels uniquely yours.

The Animal Coaster Set – Tutorial begins with a basic circular shape that forms the foundation of each coaster. This circular base is straightforward, making it perfect for beginners who want to gain confidence in working with round patterns. The key is maintaining even stitches and counting rows correctly to ensure a perfectly flat shape.
As you advance, each coaster’s personality comes to life through added details such as ears, snouts, whiskers, or small color accents. These small additions are simple yet impactful, showing how minor elements can completely transform a plain circle into a recognizable animal character. This structure allows crafters to experiment without feeling overwhelmed.
Another great advantage of this pattern is how quickly each piece works up. Even with added decorations, most animal coasters can be completed in under an hour, making the project ideal for last-minute gifts. Their small size also makes them great for using yarn scraps, helping reduce waste while fueling creativity.
The structure encourages consistent stitch practice, which strengthens your tension control and overall precision in crochet. Circular projects are excellent for developing these skills because they require evenly spaced increases and attention to detail. This makes every coaster both a learning experience and a finished product worth showing off.
Finally, the versatility of the pattern means you can create sets of matching animals or a variety pack for fun and colorful table décor. This customizable structure is one of the reasons the Animal Coaster Set – Tutorial remains a favorite among crochet enthusiasts.
To create a beautiful Animal Coaster Set – Tutorial, you’ll need simple and accessible materials. High-quality cotton yarn is recommended because it provides durability and ensures your coasters lay flat while handling moisture effectively. Cotton also gives the final product a clean and polished look.
A crochet hook that matches the recommended yarn weight is essential for shaping the circular base and small details. Many crafters prefer a 3.5 mm or 4.0 mm hook for coasters, as these sizes help maintain structure and stitch definition. Choosing a comfortable hook with an ergonomic grip can make longer sessions more enjoyable.
Black embroidery thread or thin yarn is necessary for facial features. Details like eyes, whiskers, or smiles give each animal coaster its charm. Using embroidery thread ensures fine detailing without adding bulk to the surface of the coaster.
You’ll also need a tapestry needle to sew on ears, attach details, and weave in ends neatly. The finishing process is what gives your coaster a professional appearance, so this step should never be rushed. Good finishing elevates the entire set.
A pair of sharp scissors will help with trimming yarn ends and shaping small pieces. Clean cuts prevent frayed edges and keep the coaster looking neat. If you choose to block your coasters, optional blocking mats and pins can help make them perfectly flat.
Having all materials ready before starting creates a smooth and enjoyable crafting experience. These simple tools allow you to complete the entire Animal Coaster Set – Tutorial without complications.
The Animal Coaster Set – Tutorial starts with creating a magic ring, which is the foundation for most round crochet projects. The magic ring ensures the center closes tightly, creating a clean and professional finish. Beginners may need practice, but mastering this technique is incredibly rewarding.
Once the magic ring is formed, you’ll crochet several rounds of increasing stitches. The key here is maintaining consistency in stitch placement—placing increases evenly ensures the coaster remains flat. Each round increases gradually, forming a perfect circle that serves as the base of the animal coaster.
Next comes shaping the animal features. Ears are often made separately as small half-circles or triangles, depending on the animal you’re creating. These pieces are then sewn onto the top of the base. You can customize the style of ears to match cats, dogs, rabbits, or other animals.
Facial details follow, usually embroidered using small stitches. Eyes, noses, and whiskers give each coaster a unique personality, making the crafting process especially enjoyable. Experimenting with different expressions lets you personalize each piece further.
Some animals may require additional decorations such as snouts or spots, which are crocheted in miniature form and attached securely. These small appliqués add depth and enhance the realism of the character you’re making.
When all pieces are secured, weave in your yarn ends carefully and block the coaster if needed. This final step helps shape the project and ensures it lies flat when used. The result is a beautifully crafted animal coaster ready for your collection.
One of the best things about the Animal Coaster Set – Tutorial is how customizable it is. You can create animals based on favorite pets, popular cartoon styles, or holiday themes. This flexibility allows you to transform the basic coaster into countless designs.
For festive sets, consider making reindeer coasters for Christmas or bunny coasters for Easter. These seasonal themes make wonderful gifts and decorations. You can also mix pastels for spring themes or bold tones for a playful children’s set.
If you prefer realistic animals, select natural yarn colors like browns, grays, blacks, and creams. This approach is great when creating sets inspired by specific breeds or wildlife. Adding small patches or markings enhances realism.
Kids especially love colorful or fantasy animals such as unicorns, dragons, or bright cartoon characters. This brings an imaginative twist to the pattern and turns coasters into interactive décor items for playrooms or family areas.
To elevate your coasters, consider adding textured stitches like puff stitches for cheeks or raised accents. These gentle 3D effects add charm without compromising functionality. Lightweight embellishments can also make the pieces more visually engaging.
Finally, you can personalize each coaster with initials or tiny embroidered details that make them special. Whether you’re gifting the set or selling it as handmade crafts, these unique touches help your work stand out.
1. What yarn is best for the Animal Coaster Set?
Cotton yarn is ideal because it absorbs moisture, maintains shape, and resists heat better than acrylic.
2. Are these coasters beginner-friendly?
Yes. The circular base is simple, and the added details are small enough for beginners to practice without feeling overwhelmed.
3. Can I use scrap yarn for this pattern?
Absolutely. This project is perfect for using leftover yarn in all colors.
4. How long does it take to complete one coaster?
Most people finish one in 30–60 minutes depending on their skill level.
5. How do I clean the coasters?
Hand wash them gently with cold water and lay them flat to dry to maintain shape.
6. Can I sell the finished coasters?
Yes, handmade coaster sets are very popular in craft fairs and online shops.
7. Is blocking necessary?
Blocking is optional but recommended for a perfectly flat finish.
8. What animals can I make?
Cats, dogs, bears, bunnies, frogs, owls—any animal you can visualize.
9. Do I need safety eyes?
No. Embroidered eyes are safer, especially if coasters are used around children.
10. Can I enlarge the coaster size?
Yes. Simply add more increasing rounds to make larger bases.
The Animal Coaster Set – Tutorial is a fun, creative, and practical crochet project that offers endless possibilities. Throughout this article, you learned how the structure works, what materials are required, how to follow the steps, and how to customize your coasters into adorable animal-themed masterpieces. This project enhances your skills while giving you something beautiful and useful for your home or to gift someone special.
PATTERN VIDEO:
If you enjoyed this tutorial, please leave your honest opinion and share suggestions for future patterns or topics you’d like to see. Your feedback helps keep these guides inspiring and valuable for the entire crafting community.