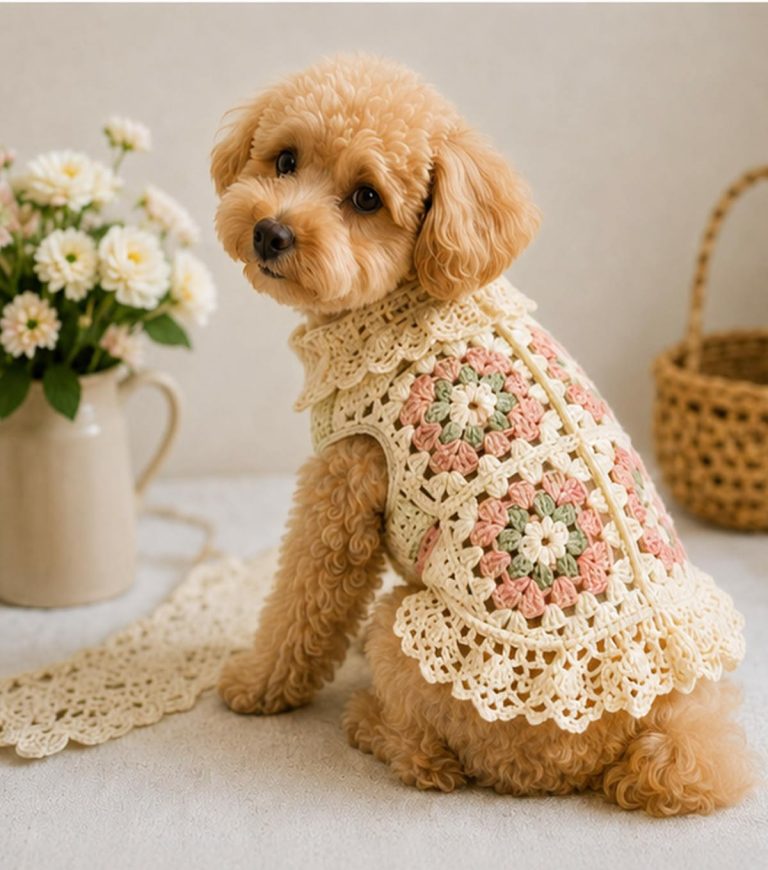
Easy Crocheted Dog Sweater

The Hooded Poncho Mexicana – Tutorial is a wonderful project for crochet lovers who enjoy colorful, cozy, and timeless handmade garments. This piece blends warmth, comfort, and cultural charm, making it a favorite for both beginners and experienced crocheters. In this article, you will learn how to create your own Hooded Poncho Mexicana, using simple stitches, clear steps, and helpful tips to make the process enjoyable from start to finish.
Crocheting a poncho is not only relaxing but also highly rewarding, and this design is perfect for anyone who loves bold colors and unique style. The Hooded Poncho Mexicana – Tutorial teaches you how to mix shades beautifully to create a striking piece that stands out in any wardrobe. Whether you want to make this poncho for yourself, a loved one, or even to sell, it is a project that offers both creative freedom and practical use.
Before we begin with the detailed steps, materials list, and techniques, remember that this Hooded Poncho Mexicana – Tutorial is designed to be accessible to all skill levels. You will discover helpful methods to maintain color consistency, shape the hood, and give your poncho a professional finish while enjoying the meditative rhythm of crochet.
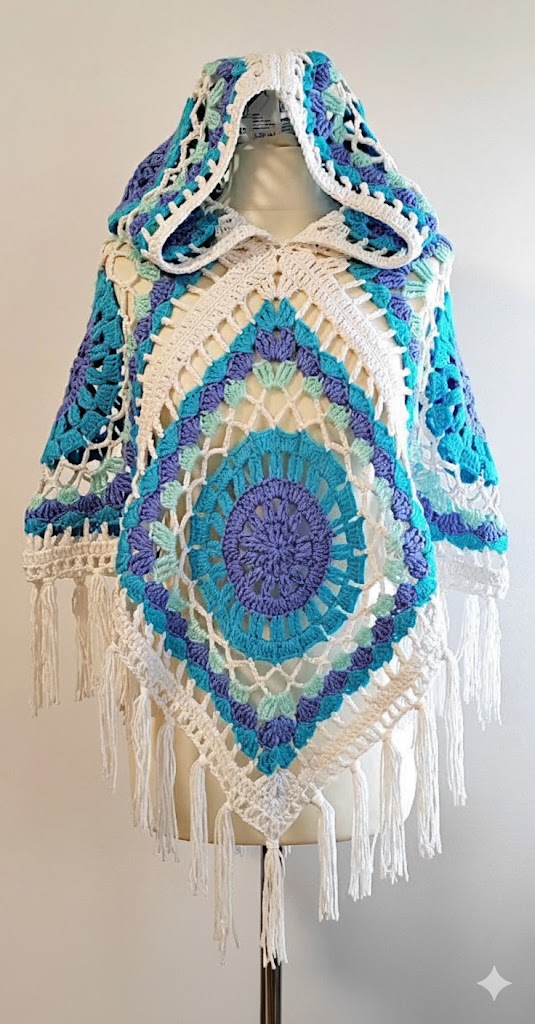
The Hooded Poncho Mexicana is inspired by traditional Mexican textiles, known for their bright colors and geometric patterns. This tutorial helps you embrace those cultural elements while keeping the project simple and beginner-friendly.
This garment is highly versatile and can be worn in any season depending on the yarn you choose. Lightweight yarn creates a breezy layer for spring and summer, while thicker yarn offers warmth during colder months. The freedom of choice is one of the greatest advantages of this project.
The hood adds both style and usefulness to the poncho. It enhances comfort, protects from chilly winds, and gives the piece a cozy, relaxed vibe. The Hooded Poncho Mexicana – Tutorial explains how to shape the hood using straightforward stitches suitable for all crocheters.
Another important feature of this poncho is its draping effect. When made correctly, it falls naturally and elegantly over the shoulders. Even beginners can achieve this result with the right stitch tension and yarn thickness.
Color selection plays a big role in the final look of your poncho. Traditional Mexican palettes include reds, yellows, blues, greens, and bold contrasts. However, you can fully customize your color arrangement to reflect your personal style.
Lastly, this tutorial focuses on teaching you how to create a poncho that looks handmade but polished. With a good combination of color, texture, and technique, your Hooded Poncho Mexicana will become a standout piece in your wardrobe.
To begin this Hooded Poncho Mexicana – Tutorial, gathering the correct materials is essential. Using the right yarn and hook size ensures the poncho drapes correctly and feels comfortable to wear.
A medium or worsted-weight yarn works well for most climates. If you prefer colder-weather wear, you can choose a bulky yarn, but keep in mind that bulkier fibers may change the poncho’s final measurements. Cotton, acrylic, and blended yarns all work beautifully depending on the effect you want.
Selecting colors is one of the most enjoyable parts of this project. Traditional Mexican-inspired ponchos include rich and contrasting shades. You can choose a single palette or use leftover yarn for a charming, multicolored design.
Your hook size should match the yarn weight. Most crafters prefer a 5.0 mm or 5.5 mm hook for worsted yarn. Using a slightly larger hook can give the poncho a looser, more comfortable drape.
You will also need basic crochet tools, such as scissors, stitch markers, and a yarn needle. Stitch markers are especially useful for shaping the hood and marking increases or decreases.
Make sure to have a tape measure on hand. Accurate measurements help the poncho fit perfectly, especially when adjusting width, length, or hood depth.
This Hooded Poncho Mexicana – Tutorial uses simple stitches such as chains, double crochet, and slip stitches. Even beginners can follow along with ease while learning new techniques.
Start by creating a foundation that forms the base of the poncho. This foundational chain should match your desired width. Choosing the right initial measurement ensures the poncho drapes naturally and comfortably across your shoulders.
Once the foundation is set, you begin working in rows using double crochet stitches. The colorful stripes are added as you switch yarn colors between rows. Keeping your tension consistent helps maintain a smooth appearance.
When your poncho reaches your desired length, it’s time to shape the hood. The hood is created by folding and crocheting two edges together, then building height with additional rows. The tutorial keeps this process simple and manageable.
The next step is attaching the hood to the neckline of the poncho. Using slip stitches or single crochet stitches creates a strong, neat connection. It also adds structure to the top of your piece.
Before finishing, decide whether you want additional details such as tassels, edging, or fringe. These decorative touches enhance the cultural charm and elevate the final look of your Hooded Poncho Mexicana.
Color coordination is one of the most important steps when working on the Hooded Poncho Mexicana – Tutorial. Take time to plan your shades or create a gradient for a creative twist.
Maintaining even tension throughout the project ensures your poncho lays flat and doesn’t curl. Practicing consistent stitching helps improve the overall structure and appearance.
If you prefer a looser poncho, consider adding more rows or using a larger hook. These adjustments can give the garment a flowy, relaxed look.
For a more fitted poncho, reduce the foundation chain and test the measurement before beginning the main rows. Adjustments early on make a big difference in the final shape.
Adding a border in a contrasting color can highlight the geometric lines of the poncho. Simple stitches like single crochet or picot edging can make the piece look polished.
Finally, always block your finished poncho. Blocking smooths out stitches and helps the colors and rows fall beautifully into place, giving your project a professional finish.
1. Is the Hooded Poncho Mexicana suitable for beginners?
Yes, this project uses basic stitches, making it great for beginners who want to expand their skills.
2. What is the best yarn for this pattern?
A worsted-weight yarn is ideal, but cotton, acrylic, and blends all work well depending on your climate and preference.
3. How long does it take to finish the poncho?
Completion time varies, but most crafters finish within a few days to a week depending on experience and available time.
4. Can I customize the colors?
Absolutely. The Hooded Poncho Mexicana is perfect for experimenting with bold, traditional, or personal color palettes.
5. How do I adjust the size?
You can easily adjust size by increasing or decreasing the foundation chain and adding or removing rows.
6. Do I need to block the poncho?
Blocking is recommended as it enhances the drape and neatness of the final piece.
The Hooded Poncho Mexicana – Tutorial gives you everything you need to create a vibrant, comfortable, and culturally inspired crochet garment. We explored materials, steps, color ideas, and techniques to help you craft a beautiful poncho with confidence and joy. I hope this guide inspires you to express your creativity through this unique project.
If you enjoyed this tutorial, please leave a sincere opinion and share any suggestions for future patterns. Your feedback helps make each article even better!