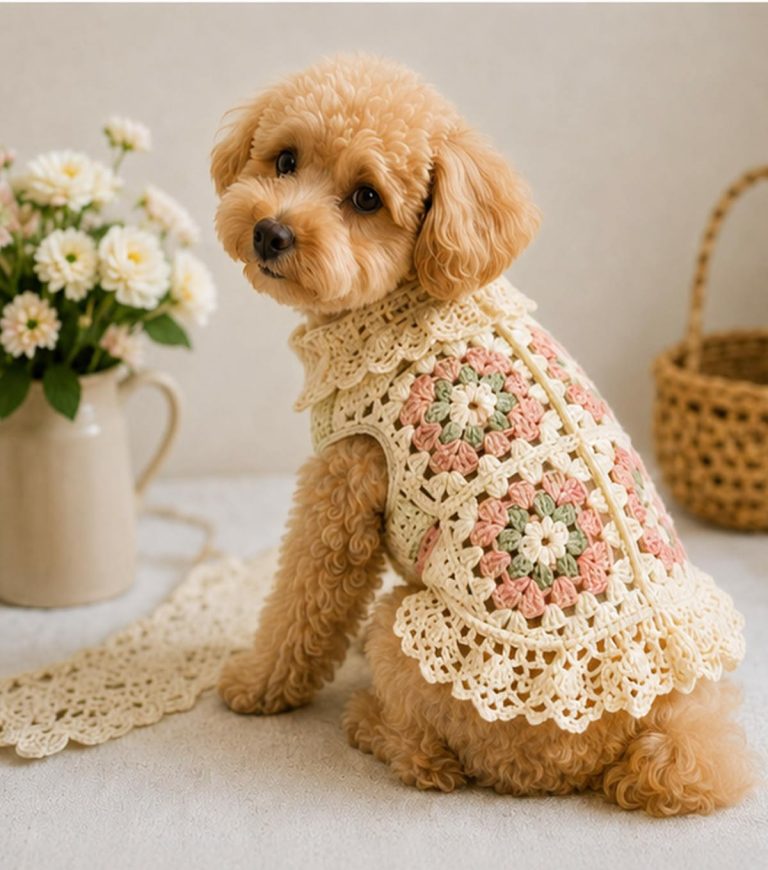
Easy Crocheted Dog Sweater

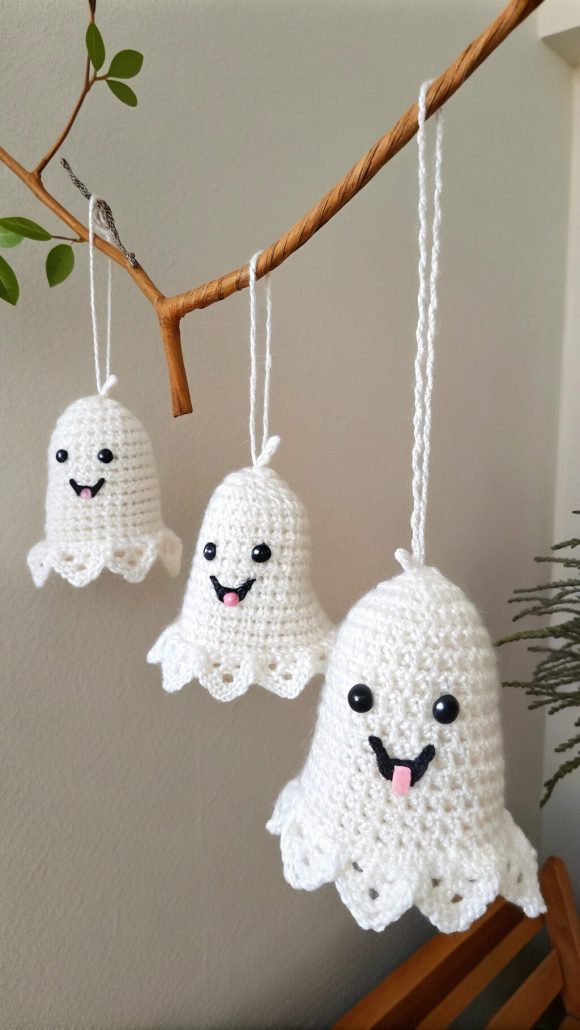
The Crochet Ghost Decorations – Pattern is the perfect craft project to bring a touch of spooky fun and handmade charm to your Halloween décor. These adorable ghosts are not only quick to make but also versatile—you can use them to decorate your home, hang them on a garland, or even add them to treat bags for a festive surprise. Whether you’re an experienced crocheter or just starting out, this crochet pattern is simple, engaging, and incredibly rewarding.
There’s something special about creating your own seasonal decorations, especially when they combine creativity and comfort. With just a few materials and some yarn magic, you can bring these little ghost friends to life. The Crochet Ghost Decorations can be made in different sizes, and you can easily customize their expressions to make them cute, spooky, or silly. This makes them ideal for both kids and adults who love handmade crafts with personality.
If you’re searching for an easy Halloween crochet project that doesn’t take much time but still delivers big results, this Crochet Ghost Decorations – Tutorial will be your go-to guide. Not only will it help you learn new crochet techniques, but it will also inspire you to use your creativity in decorating your home for the spooky season.
The Crochet Ghost Decorations Pattern is beginner-friendly and uses only a few basic crochet stitches, making it a great project for anyone looking to enhance their crochet skills. You’ll primarily work with simple stitches such as chain (ch), single crochet (sc), and double crochet (dc), all of which create the ghost’s soft and flowing body shape.
Start by choosing a soft white yarn—cotton or acrylic works perfectly for this pattern. White or off-white shades capture the ghostly essence, but you can also experiment with glow-in-the-dark yarn to add an extra fun twist.
The body of the ghost is usually crocheted in the round or worked flat, depending on your preferred style. If you’re working in the round, use a magic ring to start, and then increase gradually to create a bell-shaped body. This gives the ghost its adorable floating appearance.
Add character to your crochet ghost by stitching eyes and a mouth using black yarn or embroidery thread. You can also glue on safety eyes or small buttons for a different look.
For hanging decorations, crochet a small loop on top of the ghost’s head or attach a thin ribbon. This way, you can hang them on walls, doorknobs, or string them together to make a Halloween garland.
Lastly, block your finished ghosts lightly to help them keep their shape. This extra step ensures that your decorations look neat and professional.
Before starting your Crochet Ghost Decorations – Pattern, gather your supplies to make the process smooth and enjoyable. The best part about this project is that it requires minimal materials, most of which you might already have in your crafting kit.
You’ll need white yarn—choose a medium-weight or light worsted yarn for small to medium ghosts. If you want larger ghosts, use chunky yarn and a bigger hook.
A crochet hook in size 3.5mm to 4.5mm is ideal, depending on your yarn weight. Using a smaller hook creates tighter stitches and a firmer structure, while a larger hook gives a softer and more flowing ghost.
Other essentials include a yarn needle for sewing in ends, a pair of scissors, and a little bit of black yarn or felt for facial features. You may also want some polyester fiberfill if you plan to stuff your ghosts for a 3D effect.
If you’re turning your ghosts into garlands or ornaments, you’ll also need string, thin twine, or ribbon for hanging. Adding tiny accessories like mini hats or bows can make your crochet ghosts even more charming.
Having all your tools and materials organized beforehand helps keep your crafting process relaxing and fun. With everything ready, you can focus on the joy of creating these adorable Halloween decorations.
Creating your Crochet Ghost Decorations is easy and can be completed in under an hour per ghost. Let’s go through the process step by step.
Begin by making a magic ring with your white yarn. Crochet six single crochets (sc) into the ring and pull it tight to close. This will form the base of your ghost’s body.
Next, work in continuous rounds, increasing evenly on each round to create the bell shape. The number of stitches and rounds depends on how large you want your ghost to be. Generally, five to six rounds are enough for a small ghost, while ten to twelve rounds create a medium or large ghost.
Once you’ve reached the desired height, start decreasing slightly to taper the top. Leave an opening if you plan to stuff your ghost, or close it off completely for a flat design.
To give the ghost a wavy bottom edge, crochet alternating stitches—like double crochet and chain stitches—around the last row. This creates that classic floating ghost look.
After finishing the body, use black yarn or felt to add eyes and a mouth. Stitch them directly onto the ghost, or glue them on if you prefer. You can even make different expressions for each ghost to add personality.
Finally, attach a small loop of yarn or ribbon to the top of each ghost if you plan to hang them. Your Crochet Ghost Decorations are now complete and ready to brighten your Halloween festivities!
One of the best things about the Crochet Ghost Decorations – Pattern is how versatile it is. These little ghosts can be used in countless creative ways around your home.
Hang them as individual ornaments on your Halloween tree or door handles to give your space a handmade touch. Their cute, friendly appearance makes them perfect for family-friendly décor.
If you prefer garlands, string several ghosts together using twine or yarn and drape them across a mantel, window, or staircase. It’s a simple way to create a festive atmosphere without spending much.
You can also turn them into keychains or bag charms by adding a small keyring to the top. They make wonderful party favors or gifts for friends who love crochet and Halloween alike.
For a more interactive project, use glow-in-the-dark or metallic yarns. These add a fun twist when the lights go out, making your ghosts stand out even more during nighttime celebrations.
Finally, these crochet ghost decorations can be used as appliqués on larger projects like pillows, blankets, or tote bags. They’re a great way to add a spooky, seasonal touch to your favorite handmade items.
1. What skill level is needed for the Crochet Ghost Decorations – Pattern?
This project is perfect for beginners and intermediate crocheters. The stitches are simple, and the pattern is easy to follow.
2. What type of yarn should I use for this project?
Soft cotton or acrylic yarn works best. White or cream colors create the traditional ghost look, but you can experiment with other shades too.
3. Can I make the ghosts larger or smaller?
Yes! Simply adjust the number of rounds and use different hook sizes to change the size of your ghosts.
4. How can I make my ghosts stand up or keep their shape?
You can stuff them lightly with fiberfill or apply a fabric stiffener for a firm finish.
5. Are these decorations washable?
Yes, if made with washable yarn. Hand-wash gently in cold water and let them air dry.
6. Can I sell the ghosts I make using this pattern?
Absolutely! As long as you credit the pattern source, you can sell finished items at craft fairs or online.
The Crochet Ghost Decorations – Tutorial is a delightful way to celebrate the Halloween season while showcasing your crochet skills. These little ghosts are quick, fun, and full of personality, making them a favorite among crafters of all levels. Whether you hang them as ornaments, turn them into garlands, or use them as cute handmade gifts, they’re sure to bring a smile to anyone who sees them.
We hope you enjoyed this guide and feel inspired to create your own set of Crochet Ghost Decorations. If you try this pattern, share your thoughts and creative ideas in the comments—your feedback and suggestions help us continue bringing you the best crochet tutorials and inspiration!