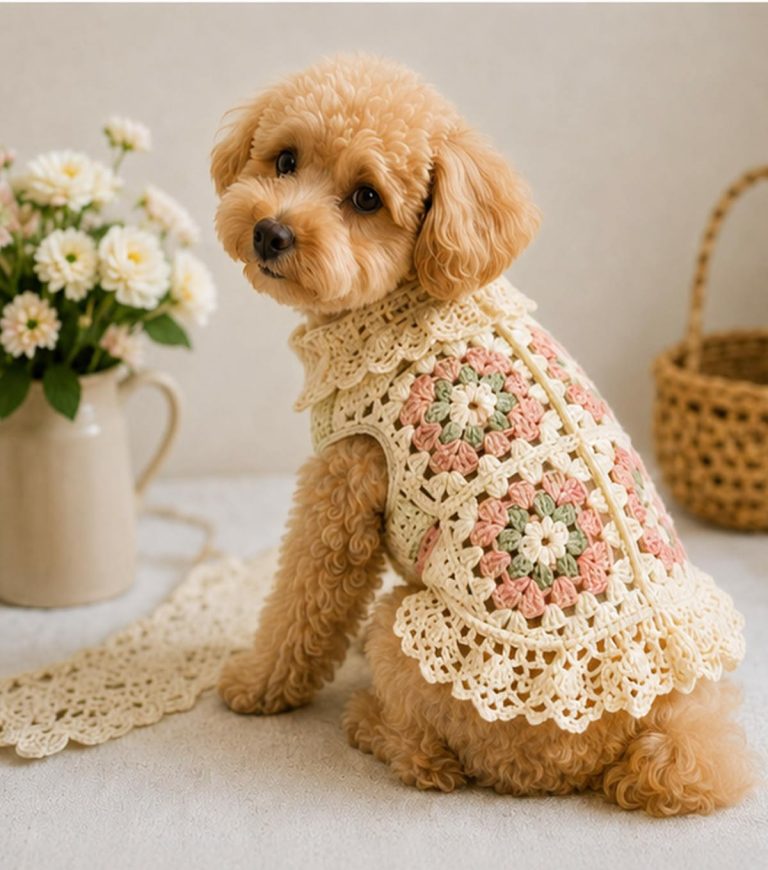
Easy Crocheted Dog Sweater

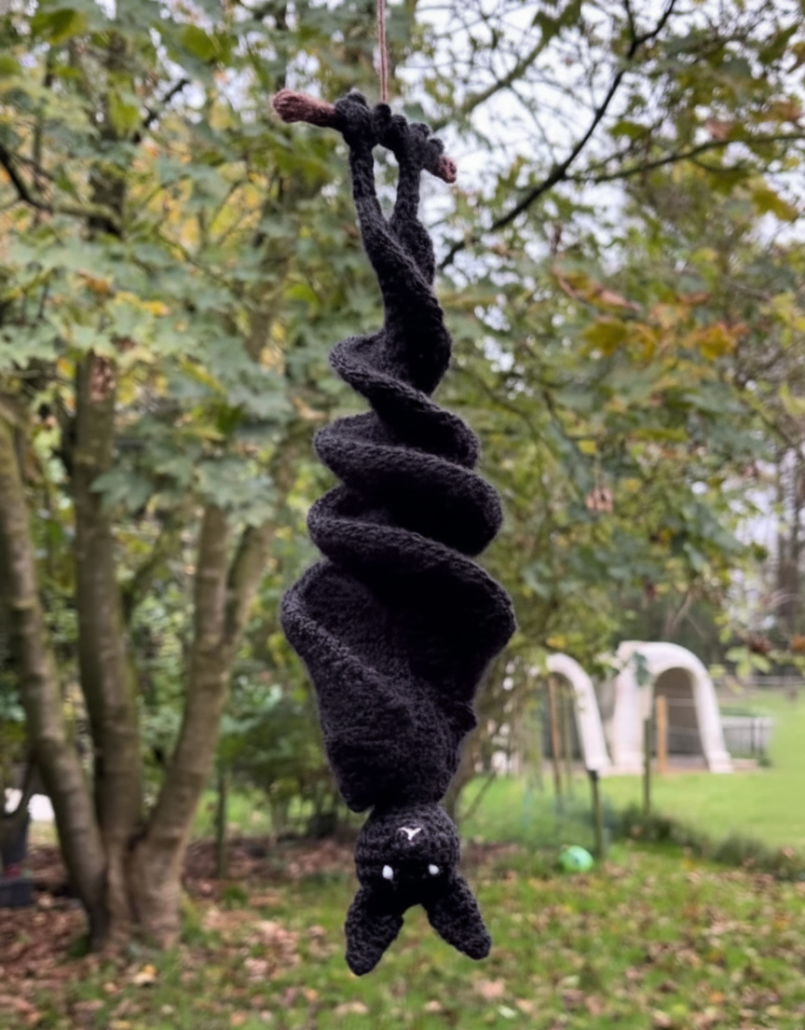
If you’re looking for a fun and spooky crochet project to celebrate Halloween, this Bat Wind Spinners – TUTORIAL is just what you need. These charming decorations flutter and twirl in the wind, creating a mesmerizing effect perfect for your porch, balcony, or garden. Whether you’re decorating for a Halloween party or simply want to add a festive touch to your home, these crochet bat spinners are a creative and enjoyable way to showcase your crafting skills.
The Bat Wind Spinners are not only eye-catching but also surprisingly easy to make. Using basic crochet stitches, you can create whimsical bats that spin freely in the breeze. With just a few materials and a bit of time, you’ll have decorations that capture both the magic and mystery of the Halloween season. This Bat Wind Spinners – TUTORIAL will guide you step-by-step through the process, making it accessible for both beginners and experienced crocheters alike.
These spinners make excellent gifts or party decorations too. They can be hung indoors or outdoors, and their motion brings life and playfulness to any setting. By following this Bat Wind Spinners – TUTORIAL, you’ll learn everything from choosing materials and shaping the bats to adding the finishing touches that make your spinners come alive.
To start this Bat Wind Spinners – TUTORIAL, gather all your materials in advance. You will need black yarn, a crochet hook that matches your yarn size, fiberfill stuffing, scissors, a yarn needle, and fishing line or thread for hanging. You can also use small googly eyes or crochet your own eyes for extra charm.
Choose medium-weight yarn to ensure your bats have structure but still move easily in the wind. Cotton or acrylic yarns work best since they hold their shape well and dry quickly if used outdoors. Black or dark gray are the most popular choices, but you can experiment with purple or orange for a fun Halloween twist.
Selecting the right hook size is essential. If you want tighter stitches and firmer bats, use a smaller hook than recommended on the yarn label. For softer, looser shapes, use a slightly larger one. This small adjustment can change the entire look of your wind spinner.
If you’re planning to hang your spinner outside, consider adding a protective spray or using outdoor-safe yarn. This will help prevent fading or damage from moisture. You can find weather-resistant yarns in many craft stores.
You’ll also need some lightweight filling or stuffing to give the bats a bit of dimension. Don’t overfill, as this can make them too heavy to spin properly. A light touch will ensure they catch the breeze beautifully.
Lastly, make sure you have clear fishing line or strong thread to hang your spinners. This makes them appear as though they’re floating mid-air—perfect for creating that magical, spooky effect that’s central to this Bat Wind Spinners – TUTORIAL.
Now that your materials are ready, it’s time to start the fun part of this Bat Wind Spinners – TUTORIAL—crocheting your bats. Begin by making a small circular base using a magic ring. Work several single crochet stitches into the ring to create the bat’s head. Gradually increase your rounds to form a slightly oval shape for the body.
Next, you’ll create the bat’s wings. Chain a series of stitches from the side of the body, then work back across using a combination of single crochets, half double crochets, and double crochets to form the wing’s scalloped edge. This gives it the distinctive bat silhouette. Repeat the same on the opposite side for the second wing.
For the spinner effect, attach a long, twisted tail beneath the bat. This can be made by chaining a long string of stitches—about 50 to 70 chains—and then working back with single crochet stitches to create a sturdy spiral. When the wind blows, this tail will twist and spin, bringing your creation to life.
Stuff the bat lightly with fiberfill and use your yarn needle to sew up any openings. Make sure the shape remains balanced so it spins smoothly when hung. Add eyes and a small mouth using embroidery thread or felt for extra detail.
Once your bat is finished, attach a piece of fishing line to the top of its head. Test it by holding it up to a light breeze—if it spins easily, it’s ready to hang. You can make several bats in different sizes to create a dynamic mobile-like display.
This Bat Wind Spinners – TUTORIAL is incredibly versatile. You can adapt the pattern to make different creatures, like ghosts, pumpkins, or spiders, using the same basic structure. It’s a great way to experiment and have fun with your crochet projects.
Once your bats are complete, it’s time to get creative with decorations. This Bat Wind Spinners – TUTORIAL encourages you to personalize each spinner to fit your Halloween theme or color scheme. Add small touches that make your bats unique, such as tiny bows, sparkly yarn, or glittery accents.
You can use glow-in-the-dark yarn or paint to make your bats visible at night. This adds an extra spooky touch when they catch the light during evening celebrations. It’s also a fun surprise for trick-or-treaters who spot them hanging from your porch.
Consider using beads or bells on the bottom of your spinner tail. This not only adds a decorative element but also creates a soft jingling sound as they move in the breeze. The sound complements the fluttering motion and enhances the overall magical atmosphere.
If you enjoy color coordination, try making your bats in various shades. For example, alternating black and purple or orange and gray spinners can create a visually appealing contrast when hung together.
For indoor displays, you can attach your bats to a wooden dowel or hoop to create a hanging mobile. This makes for an excellent Halloween centerpiece or decoration for kids’ rooms. The movement of the bats will capture attention and spread festive cheer.
Don’t forget that presentation matters! Whether you hang them in your garden or use them indoors, these Bat Wind Spinners bring handmade charm and a playful Halloween spirit wherever they go.
To make the most of your Bat Wind Spinners, choose the perfect spot for display. Outdoor areas such as porches, balconies, and trees are ideal because they catch natural wind. Indoors, a spot near an open window or ceiling fan works beautifully to keep them gently spinning.
When hanging your spinners outdoors, ensure they’re securely attached. A lightweight metal hook or a sturdy string tied in a loop will help them withstand wind gusts. Avoid placing them where they might get tangled with branches or other decorations.
If your spinners get wet, allow them to dry completely before bringing them inside. Most yarns can handle a bit of moisture, but long exposure can cause colors to fade or fibers to stretch. For best results, bring them indoors during heavy rain or storms.
To refresh your display, try rotating different designs or colors each year. Mixing bats with other Halloween-themed crochet spinners—like pumpkins or ghosts—creates a festive and balanced decoration setup.
You can also add small LED string lights near your bats for a magical nighttime effect. The gentle glow will highlight their movement and make them stand out in the dark.
Finally, store your Bat Wind Spinners carefully after the season ends. Place them in a dry box or fabric bag to prevent dust buildup or damage. With proper care, your handmade decorations will last for many Halloweens to come.
1. What type of yarn works best for Bat Wind Spinners?
Medium-weight acrylic or cotton yarn works well. Acrylic is more durable outdoors, while cotton gives a softer, natural finish.
2. Can beginners make this Bat Wind Spinners – TUTORIAL?
Yes! The pattern uses simple stitches like single crochet and chain stitches, making it beginner-friendly.
3. How long does it take to make one Bat Wind Spinner?
On average, each spinner takes about one to two hours, depending on your crochet speed and added details.
4. Can I make these spinners in other shapes or colors?
Absolutely! You can adapt the pattern to create ghosts, pumpkins, or stars using the same spinning base.
5. How can I make the bats spin more freely?
Ensure the hanging thread is long enough and the spinner tail is lightweight. Hanging them in a breezy spot enhances the movement.
6. Are Bat Wind Spinners suitable for outdoor use?
Yes, but if you plan to leave them outside for long periods, use weather-resistant yarn and bring them in during heavy rain.
The Bat Wind Spinners – TUTORIAL is a delightful crochet project that combines creativity, fun, and seasonal charm. You’ve learned how to craft adorable bats, decorate them, and make them spin beautifully in the wind. With just a few materials and a touch of imagination, you can create decorations that bring Halloween magic to life.
Whether displayed indoors or outdoors, these spinners are sure to impress and inspire smiles. I’d love to hear your honest opinions and suggestions—what colors or designs will you try next? Leave a comment below and share your ideas for future crochet tutorials!