
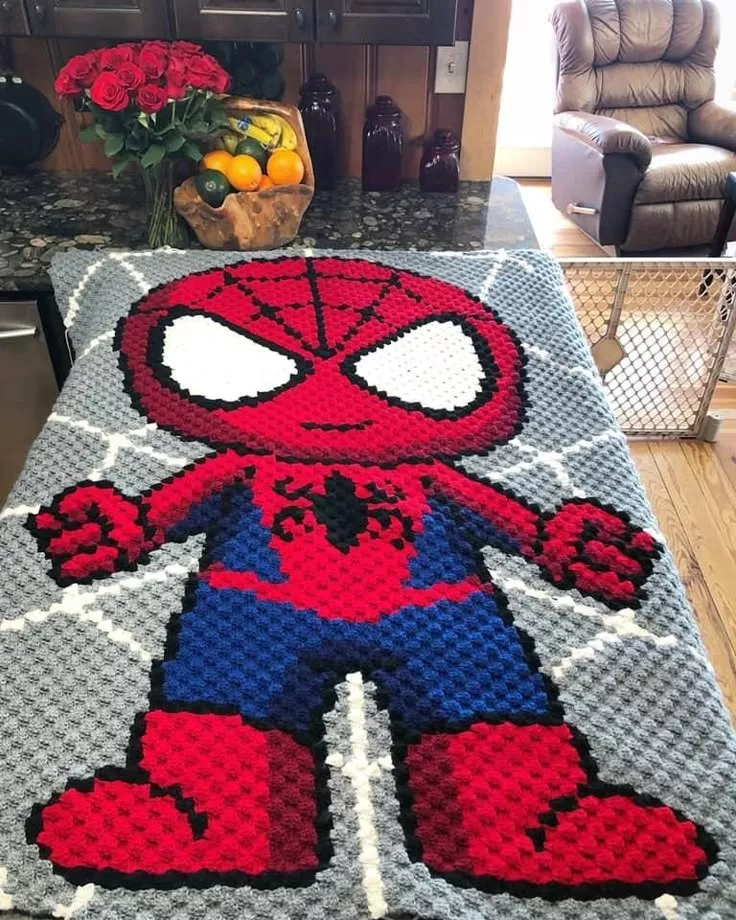
Turtle Baby Blanket – Tutorial


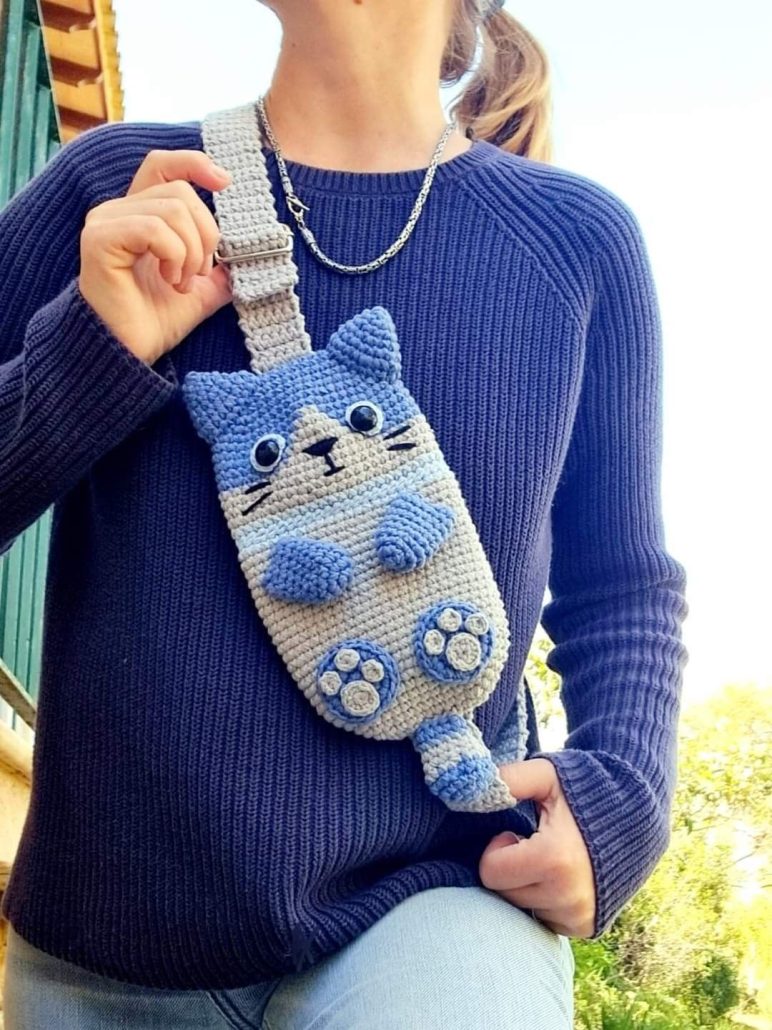
If you’re looking for a quick, stylish, and practical crochet project, the Crochet Phone Bag – TUTORIAL is a perfect choice. This small and functional accessory keeps your phone safe while adding a handmade touch to your outfit. Whether you’re new to crochet or an experienced maker, this project is both fun and rewarding. It’s lightweight, beginner-friendly, and only requires basic crochet skills.
The Crochet Phone Bag – TUTORIAL combines creativity with convenience. It’s designed to hold your phone securely while giving you space to add personal details, textures, and colors. You can make one in a few hours, using yarn from your stash or a favorite color combination that matches your style. This pattern is also a fantastic gift idea for friends and family who appreciate handmade accessories.
Throughout this tutorial, you’ll learn step-by-step how to create your own crochet phone bag, including the best stitches, yarn types, and finishing tips to ensure a durable and beautiful result. Let’s dive into this delightful project that blends fashion and function.
Before starting your Crochet Phone Bag – TUTORIAL, it’s important to prepare all your materials. Having everything ready will make your project smooth and enjoyable from beginning to end.
You’ll need:
Cotton yarn is an excellent choice because it’s sturdy and gives the bag a clean, structured look. If you prefer a softer texture, acrylic or bamboo blends work beautifully as well. Choose colors that complement your wardrobe or go for vibrant hues for a fun accessory.
Before starting, measure your phone so you can adjust the pattern size if needed. This ensures your Crochet Phone Bag – TUTORIAL fits perfectly.
Now that your materials are ready, it’s time to start crocheting your Crochet Phone Bag – TUTORIAL. The following steps will guide you through the process.
Step 1: Make the Base
Begin by chaining enough stitches to match the width of your phone, plus two extra chains for turning. Single crochet (sc) across the chain, then work around the foundation chain to create an oval base. Continue crocheting in rounds without joining to form the bag’s bottom.
Step 2: Build the Body
Once the base is complete, continue crocheting in rounds using half double crochet (hdc) or double crochet (dc) stitches. The height should be about one inch taller than your phone. Keep your tension even for a clean finish.
Step 3: Add Texture or Pattern
To personalize your Crochet Phone Bag – TUTORIAL, you can alternate between stitches—try a few rows of front post double crochet (fpdc) or puff stitches for added texture. This step makes your bag unique and visually appealing.
Step 4: Create the Strap
You can either crochet a long chain strap using slip stitches for strength or make a separate strap with a thicker stitch like single crochet. Attach both ends securely to the bag. Alternatively, use a store-bought strap for a polished look.
Step 5: Make the Closure
For extra security, add a small flap and sew on a button, snap, or Velcro. You can even crochet a button using matching yarn for a cohesive finish.
Step 6: Weave in Ends and Block
After completing your work, use a yarn needle to weave in all loose ends neatly. If necessary, block your bag lightly by shaping it with your hands and letting it dry flat.
Your Crochet Phone Bag – TUTORIAL is now complete!
One of the best parts about this Crochet Phone Bag – TUTORIAL is that it’s so customizable. You can easily adapt the design to fit your personality or create several versions for different occasions.
This versatility makes the Crochet Phone Bag – TUTORIAL one of the most enjoyable and useful crochet projects you can make.
To achieve the best results with your Crochet Phone Bag – TUTORIAL, here are some expert tips that will make your project look polished and professional.
These small adjustments can make your crochet bag look like a designer piece, even if it’s your first project.
1. Can beginners make this project?
Yes! The Crochet Phone Bag – TUTORIAL is perfect for beginners, as it uses simple stitches and minimal shaping.
2. What type of yarn should I use?
Cotton yarn is ideal for structure and durability, but you can use acrylic for a softer finish.
3. How long does it take to make?
Most crafters can complete it in 2–3 hours, depending on experience level and stitch complexity.
4. Can I make it larger or smaller?
Absolutely. Just adjust your starting chain length to match your phone’s size or preferred dimensions.
5. Do I need to line the bag?
It’s optional, but adding a lining gives extra strength and helps prevent stretching.
6. Can I sell the bags I make using this tutorial?
Yes! Handmade phone bags are popular in craft fairs and online shops, as long as you credit the original Crochet Phone Bag – TUTORIAL for inspiration.
The Crochet Phone Bag – TUTORIAL is a beautiful blend of creativity and practicality. It’s the kind of project that delivers quick results while letting you explore colors, textures, and personal style. Whether you’re crafting for yourself, for gifts, or to sell, this pattern is sure to impress.
By following this guide, you’ve learned how to crochet a stylish and functional phone bag from scratch. Every stitch you make adds to your experience and creativity as a crocheter.
PATTERN VIDEO:
If you enjoyed this Crochet Phone Bag – TUTORIAL, don’t forget to leave a comment with your thoughts and suggestions. Your feedback helps inspire new patterns and tutorials for fellow crochet lovers around the world!


