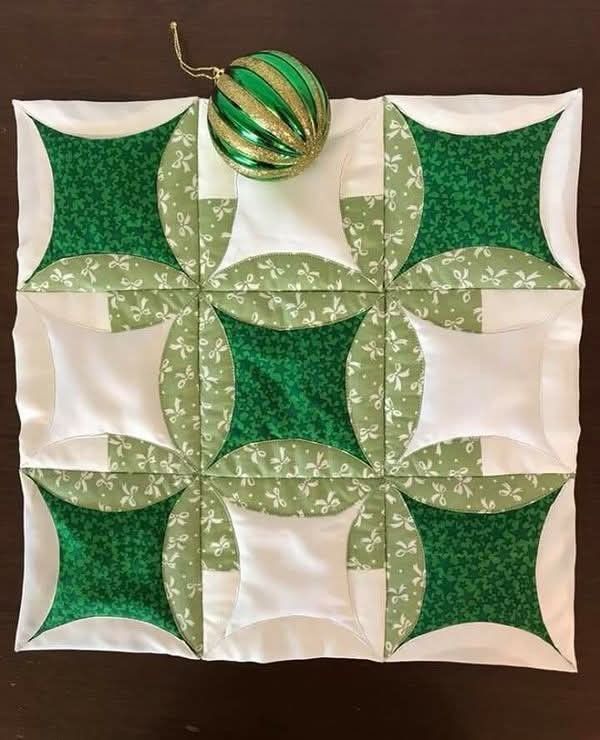
Cathedral Window Block – PATTERN


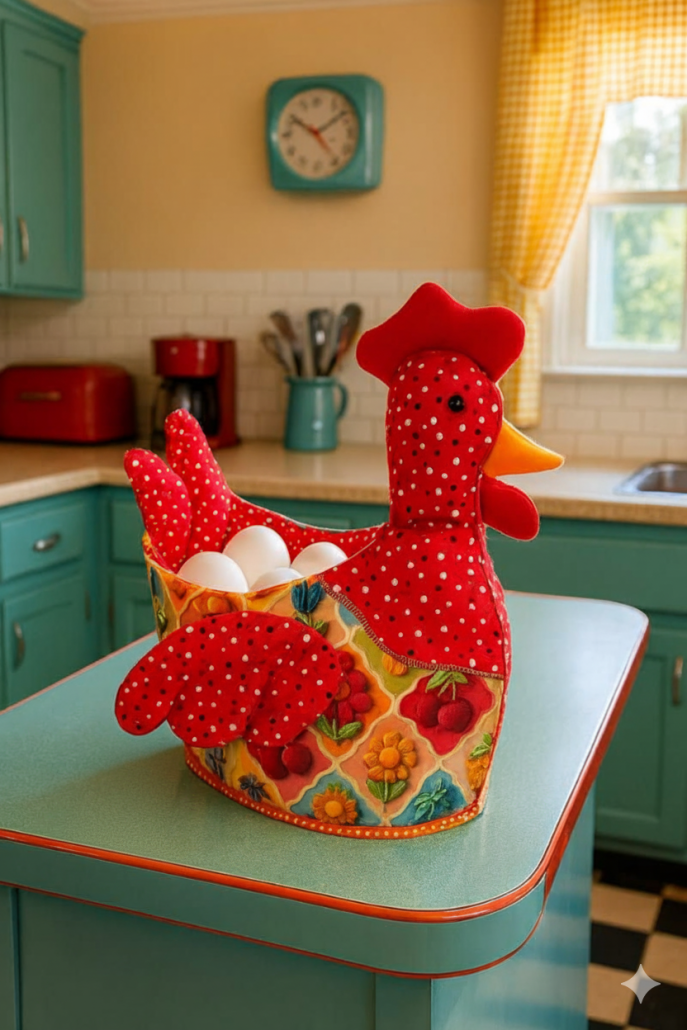
If you love creative quilting and practical home decor, this Chicken Basket for Storing Eggs or Fruits – TUTORIAL is a must-try project. This delightful quilt pattern combines functionality with farmhouse charm, turning simple fabric pieces into a beautiful, handmade chicken-shaped basket perfect for your kitchen or dining table. Whether you use it to store fresh eggs, fruits, or small decorative items, this project brings a touch of warmth and personality to your home.
The Chicken Basket for Storing Eggs or Fruits – TUTORIAL is perfect for beginners and experienced quilters alike. It uses basic quilting techniques, making it easy to follow while still allowing room for creativity in color and design. You can personalize your basket with your favorite fabrics — from rustic tones to bright patterns — to match your kitchen’s decor or your personal style.
Creating this fabric basket is not only a rewarding sewing experience but also an eco-friendly choice. Instead of plastic or metal storage containers, you’ll have a reusable, washable, and sustainable solution that adds handmade beauty to your home. Let’s explore how to make this charming and functional project step by step!
Before starting this Chicken Basket for Storing Eggs or Fruits – TUTORIAL, you’ll need a few basic materials. Gather cotton quilting fabric in several colors — one for the body, one for the wings, and small pieces for the comb and beak. You’ll also need batting, interfacing, scissors, a rotary cutter, a sewing machine, and thread.
When choosing your fabric, consider prints that complement your home’s aesthetic. Floral, gingham, or neutral tones work well for a cozy country feel. If you prefer a playful look, opt for bold and colorful fabrics. Quilting cotton is ideal because it’s durable and easy to handle.
Next, prepare your fabric pieces by cutting them according to your chosen pattern. The main body of the chicken will consist of two quilted panels — front and back — with smaller fabric pieces added for details like wings, tail, and comb. Don’t forget to cut an additional piece for the base of your basket, which helps it stand firmly.
Once your pieces are ready, iron them flat and apply interfacing to add stiffness and structure. This step is especially important since the basket needs to maintain its shape when holding items like eggs or fruits. Take your time to ensure each piece is prepared correctly; a smooth start guarantees a professional-looking result.
Finally, organize your pieces and layout before sewing. This will help you visualize how your chicken basket will come together and allow for any adjustments before stitching begins.
Now we’ll begin bringing your Chicken Basket for Storing Eggs or Fruits – TUTORIAL to life by sewing the main body. Start by quilting your two body panels using simple straight-line quilting or free-motion stitching, depending on your preference. The goal is to create a soft yet structured texture.
After quilting, attach the chicken’s wings, comb, and beak to the front panel. Use a zigzag or blanket stitch for a decorative touch. The wings can also double as small pockets if you wish — a cute and functional detail! For added personality, sew on small buttons or use fabric scraps to create eyes.
Next, sew the front and back panels together along the sides and bottom, leaving the top open. Add the base piece to complete the basket’s shape. If you’re using batting or interfacing, trim any excess before turning the basket right-side out.
To ensure stability, you can topstitch around the edges or add a fabric binding. This gives the basket a neat and polished appearance while reinforcing its structure.
Don’t forget to double-check the seams for strength, especially if you plan to store heavier items like apples or oranges. Proper stitching will make your chicken basket durable and long-lasting.
At this point in the Chicken Basket for Storing Eggs or Fruits – TUTORIAL, you’ll focus on giving your basket its sturdy, three-dimensional shape. Begin by inserting a layer of interfacing or foam stabilizer between the quilted layers if you haven’t already. This helps the basket maintain its form even when filled.
Fold and shape the chicken’s tail and wings to create a more natural, sculpted appearance. You can hand-stitch them in place or use a few small tacks to secure them. For an extra decorative touch, add fabric yo-yos, bows, or embroidery to personalize your design.
Next, add handles if desired. Simple fabric straps or braided cords attached to the sides make it easier to carry your basket. If you prefer a tabletop display, you can skip this step.
Once everything is assembled, press the basket gently with an iron to smooth any wrinkles. This final pressing step gives your project a crisp, clean finish that highlights your quilting work.
Now your chicken basket is ready to use! It’s perfect for holding eggs in the kitchen, fruits on the dining table, or even yarn in your craft room. This handmade creation is sure to impress anyone who sees it.
With your Chicken Basket for Storing Eggs or Fruits – TUTORIAL completed, it’s time to enjoy the fun part — decorating and using it! This basket is not just functional but also serves as a beautiful decorative piece for your home.
You can place it on your kitchen counter filled with fresh eggs, use it as a fruit holder on the dining table, or even fill it with seasonal decorations. During Easter, for example, it can hold colorful eggs or small gifts. At Christmas, fill it with ornaments or candy for a festive display.
If you love giving handmade gifts, this chicken basket makes a wonderful present for friends and family who appreciate handmade crafts and home decor. You can even personalize each basket with different fabrics and colors to match the recipient’s taste.
For long-lasting results, gently clean your fabric basket by spot-wiping with a damp cloth. Avoid washing it in the machine, as this could distort the shape. If the basket loses stiffness over time, lightly reapply interfacing or add a fabric liner.
Each chicken basket you make can be unique. Try experimenting with different fabric combinations — from patchwork styles to bold patterns — and see how creative you can get. This is what makes quilting so enjoyable — turning simple materials into something beautiful and useful.
1. Is the Chicken Basket suitable for beginners?
Yes! The Chicken Basket for Storing Eggs or Fruits – TUTORIAL is beginner-friendly and involves simple quilting techniques.
2. What type of fabric is best for this project?
Cotton quilting fabric is the best choice because it’s durable, easy to sew, and comes in a variety of prints.
3. Can I make the basket larger or smaller?
Absolutely! You can easily resize the pattern by adjusting the measurements to suit your needs.
4. How do I make the basket sturdier?
Use interfacing or foam stabilizer between the fabric layers to add firmness and structure.
5. Can I wash the basket?
It’s better to spot-clean the basket gently rather than machine washing, to preserve its shape and stitching.
The Chicken Basket for Storing Eggs or Fruits – TUTORIAL is a perfect blend of creativity, functionality, and charm. This fun quilting project not only enhances your sewing skills but also results in a beautiful and practical piece you’ll love using daily.
Whether you display it in your kitchen, gift it to a loved one, or create several for craft fairs, this basket is sure to spread warmth and joy. We hope this guide inspires you to make your own chicken basket and explore new ways to incorporate quilting into your home decor.
PATTERN VIDEO:
Don’t forget to share your thoughts, photos, and suggestions below — we’d love to hear your honest feedback and see your amazing creations! 🐔🧵💛