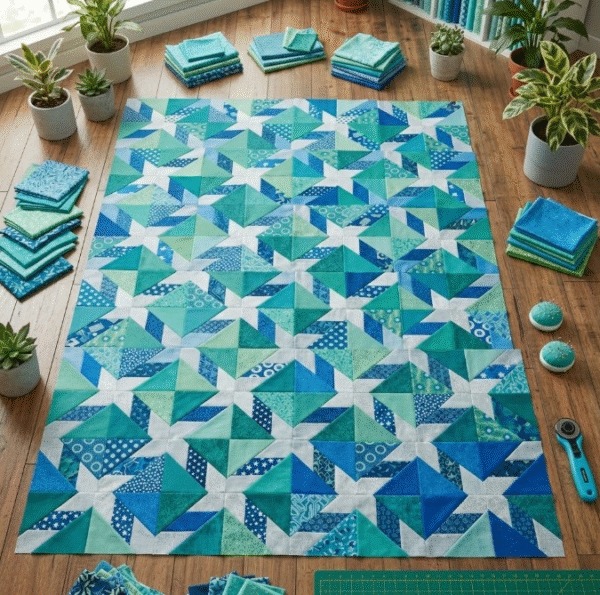
Urban Constellation - PATTERN

The Girl Pattern Block is a delightful and heartwarming quilt design that captures the charm and innocence of childhood through fabric art. Whether you’re an experienced quilter or just starting your journey with quilt patterns, this project offers a creative way to combine traditional techniques with a touch of personality. The block can be used as part of a larger quilt, a wall hanging, or even a decorative pillow. With its sweet silhouette and colorful fabric choices, the Girl Pattern Block makes any quilt project more special and full of story.
Creating a quilt block that represents a figure, especially one as detailed as a girl, allows you to play with fabric textures, skin tones, hair colors, and clothing prints. It’s also a wonderful opportunity to personalize your quilting project—maybe to represent a loved one, a daughter, or simply to express joy through handmade art. Using the Girl Pattern Block tutorial, you’ll learn how to craft each part of the design step by step, ensuring your finished piece looks beautiful and cohesive.
Before starting, gather your favorite fabrics and prepare your tools. This pattern combines basic patchwork with applique, so even beginners can achieve excellent results by following the steps carefully. Let’s dive in and bring your quilt to life with this adorable and meaningful pattern.
To make the Girl Pattern Block, gather several fabric pieces in coordinating colors. You’ll need fabric for the background, hair, dress, skin tone, and any extra details like shoes or ribbons. Cotton fabric works best for quilting since it’s easy to handle and holds shape well. You’ll also need a sewing machine, scissors, an iron, fusible web for applique, and matching thread.
Select colors that match the theme or mood of your quilt. For example, soft pastels create a gentle look, while bright patterns make your girl design pop. Don’t hesitate to mix prints and solids—it adds depth and interest to your quilt block.
Before cutting, press your fabrics to remove any wrinkles. Accurate cutting is key to achieving neat edges and smooth assembly.
Keep a rotary cutter and cutting mat handy for precision. It’s also helpful to label your fabric pieces as you cut them to avoid confusion during assembly.
If you want your block to have a specific size, adjust the pattern pieces accordingly. The Girl Pattern Block can easily be resized without changing the proportions of the design.
Once everything is prepared, you’re ready to begin creating the main sections of your girl design.
Start by tracing the girl’s silhouette onto fusible web using the pattern template. Cut out the shapes carefully—this will include the dress, arms, legs, head, and hair. Place the fusible web pieces onto the wrong side of your chosen fabrics and press with an iron to secure them. Then, cut along the lines to create your fabric pieces.
Next, position all the parts onto your background fabric. Take your time to arrange the pieces so the proportions look balanced. Once satisfied, press them in place with an iron to activate the fusible web.
If you prefer a more detailed look, you can add features like ribbons, shoes, or small fabric flowers. These elements personalize the block and make it more expressive.
After fusing all pieces, secure the edges with a small zigzag or blanket stitch. This step not only reinforces the applique but also gives your Girl Pattern Block a polished, handmade finish.
If you’re new to applique, practice on a scrap piece of fabric first to get comfortable with your stitch width and speed.
Once the main figure is stitched, give it another light press to flatten any wrinkles before moving on.
Now that your girl silhouette is in place, it’s time to bring the scene to life with background details. You can add a patchwork sky, grass, or even small hearts and flowers to complement the girl figure. Use light, coordinating colors that enhance but don’t overpower the main design.
Consider adding hand embroidery or decorative stitches to define hair strands, clothing folds, or facial expressions. These small touches can make your Girl Pattern Block even more charming.
If you’re creating multiple blocks for a larger quilt, vary the backgrounds and outfits to create a series of unique girl designs.
Be mindful of color balance. Too many dark shades can overshadow the central figure, while too many light colors might reduce contrast. Aim for harmony between all fabric elements.
You can also frame your girl block with a border strip to give it definition and prepare it for piecing with other quilt blocks.
Finally, iron the block gently to smooth out the seams and ensure all appliques are securely attached before you proceed to final assembly.
Once your Girl Pattern Block is complete, it’s time to incorporate it into your quilt or finish it as a standalone piece. Trim the block to your desired size, ensuring the figure remains centered.
If you plan to include it in a quilt, match it with other complementary blocks like stars, flowers, or geometric shapes to create a cohesive theme.
You can also turn the Girl Pattern Block into a wall hanging by adding a fabric border, quilting layers together, and attaching a hanging loop.
Quilt through all layers to add texture and stability. Stitch around the edges of the girl design or follow the outlines to create depth.
Binding the edges neatly completes your project and protects it from fraying. Choose a binding color that complements the overall palette.
Once done, admire your work—you’ve just created a heartfelt and personalized quilt block that celebrates creativity and love through fabric art.
1. Is the Girl Pattern Block suitable for beginners?
Yes! The pattern combines basic applique and patchwork techniques, making it accessible for quilters of all skill levels.
2. What kind of fabric should I use?
Cotton fabric is ideal for quilting projects because it’s durable, easy to cut, and available in many colors and patterns.
3. Can I change the girl’s appearance or clothing?
Absolutely! You can personalize the block by using different fabric colors, hairstyles, and dress patterns.
4. What size should the finished block be?
The standard size is about 12 inches square, but you can resize it depending on your quilt layout.
5. How can I make my applique look professional?
Use fusible web to secure the pieces first and then sew with a small zigzag or blanket stitch for clean, precise edges.
6. Can I use this block for something other than a quilt?
Yes! The Girl Pattern Block can be used on tote bags, pillows, or framed as a wall decoration.
The Girl Pattern Block is a heartwarming quilting project that lets you express creativity and emotion through fabric. It’s versatile, beginner-friendly, and perfect for anyone looking to add a personal touch to their quilt collection.
Whether you use it in a larger quilt or as a standalone art piece, this tutorial helps you bring your design vision to life with care and precision. Enjoy experimenting with colors, patterns, and textures to make your block unique. Don’t forget to share your finished work and leave a sincere opinion or suggestions for future tutorials—you might inspire other quilters to start their own creative journey!