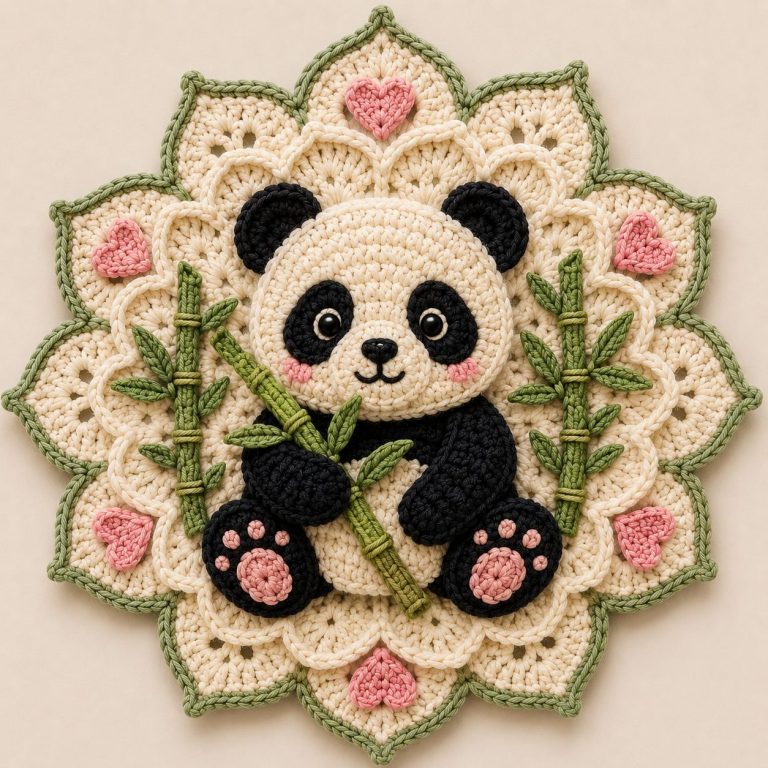
Crochet Panda Bamboo Doily Tutorial

Crochet Hat – Pattern is one of the most enjoyable projects for beginners and advanced crocheters alike. A hat is not only a practical accessory but also a stylish way to express your creativity. With just yarn, a hook, and some patience, you can create a cozy hat that reflects your personal taste and keeps you warm during colder days.
Many people think that making a crochet hat requires advanced skills, but in reality, this is one of the most approachable crochet projects. With a clear step-by-step Crochet Hat – Pattern, you can quickly learn how to shape the crown, work the sides, and finish the brim for a professional look. Once you get the basics, the possibilities for variations are endless.
By following this Crochet Hat – Pattern, you will not only learn the essential stitches but also gain confidence to try more advanced designs in the future. Crochet hats make excellent gifts, are great sellers at craft fairs, and can be customized for any age or style. The joy of completing your first hat is unmatched and will inspire you to create even more.
The first step in any Crochet Hat – Pattern is choosing the right yarn. The yarn weight determines how thick and warm your hat will be. For winter hats, worsted or bulky yarns are ideal, while lightweight cotton yarns are perfect for summer hats.
Fiber type also makes a difference. Wool yarn provides warmth and stretch, acrylic yarn is budget-friendly and easy to wash, and cotton yarn is breathable and great for sensitive skin. Your choice depends on the season and purpose of the hat.
Selecting the right crochet hook is just as important. The hook size should match your yarn weight to achieve the correct tension. Using a smaller hook creates a denser fabric, while a larger hook gives a looser and more flexible texture.
Color selection brings personality to your project. Neutral tones like gray, beige, and black are versatile and match any wardrobe, while bright colors and variegated yarns add fun and uniqueness to your hat.
In addition to yarn and hooks, you may also need accessories like stitch markers, scissors, and a tapestry needle for weaving in ends. These small tools make the process much smoother.
Lastly, consider whether you want to add embellishments. Pom-poms, buttons, or even appliqué details can transform a simple crochet hat into a stylish fashion piece.
Start by creating a magic ring or chain loop to form the crown of the hat. This foundation is where you will build the rest of your stitches. The magic ring technique is highly recommended because it allows you to close the starting hole tightly.
Work in rounds using basic stitches like single crochet, half double crochet, or double crochet. Increasing stitches evenly around the circle expands the crown, giving the hat its initial shape.
Once the crown reaches the desired size, stop increasing and continue crocheting evenly around to build the sides of the hat. This is where the hat starts to take its recognizable form.
When the sides are tall enough, you can add a brim or edging. A simple single crochet border gives a clean finish, while a ribbed brim adds texture and elasticity. This step also ensures the hat fits comfortably on the head.
After finishing the main body, weave in the yarn ends with a tapestry needle to secure your stitches. This makes the hat neat and prevents unraveling.
Finally, you can embellish your hat with details like a pom-pom, decorative stitching, or even crocheted flowers. These finishing touches make your Crochet Hat – Pattern more personal and stylish.
The beauty of this Crochet Hat – Pattern lies in its versatility. By changing yarn weight, hook size, or stitch type, you can create countless variations. For example, chunky yarn makes a warm winter beanie, while lightweight cotton creates a breezy summer cap.
Experimenting with stitches adds texture. Shell stitches, popcorn stitches, or ribbing techniques create unique designs that stand out. Even alternating rows of simple stitches can produce beautiful effects.
You can also play with colors. Striped patterns, ombré yarn, or color-block designs make your crochet hat visually striking. Using leftover yarn scraps is another creative way to add personality while being eco-friendly.
Adding earflaps transforms your crochet hat into a functional and cozy winter accessory. These can be tied with braided cords or left loose for extra warmth and style.
Slouchy hats are another fun variation. Instead of stopping at a fitted length, keep crocheting extra rows to create a relaxed, fashionable shape. This style is very popular among younger audiences.
Finally, consider making matching sets. Pair your crochet hat with a matching scarf or gloves for a complete handmade winter ensemble. This not only looks stylish but also makes wonderful gifts.
One common issue in a Crochet Hat – Pattern is the hat turning out too tight or too loose. This usually happens due to incorrect tension or hook size. Always check your gauge before starting to ensure proper fit.
If the crown of the hat looks wavy, it means there were too many increases. Reduce the number of increases in the next attempt to correct this.
On the other hand, if the crown curls upward, there were not enough increases. Adding more stitches evenly around the circle will help the crown lay flat.
Another problem is uneven edges. To prevent this, mark the beginning of each round with a stitch marker. This keeps your rows aligned and helps you track your progress.
If your hat feels too short or too long, simply adjust the number of rounds in the body section. Crochet is flexible, and customizing the length ensures a perfect fit.
Lastly, always weave in ends securely. If not done properly, the yarn can come loose after washing. A neat finish gives your hat durability and a professional look.
What is the best yarn for crochet hats?
Wool and acrylic yarns are popular for winter hats, while cotton yarns are great for summer hats because they are lightweight and breathable.
Can beginners make a crochet hat?
Yes, hats are perfect beginner projects. Basic stitches like single crochet or double crochet are enough to complete most patterns.
How do I make my hat the right size?
Measuring head circumference and checking gauge before starting ensures the hat will fit correctly.
Can I crochet a hat without a pattern?
Yes, once you understand the structure—crown, sides, and brim—you can create hats without a formal pattern.
How long does it take to crochet a hat?
It depends on yarn weight and stitch complexity, but most hats can be completed in a few hours to a couple of days.
Can I customize my crochet hat?
Absolutely! You can add pom-poms, color changes, earflaps, or embellishments to make it unique.
In this Crochet Hat – Pattern, we covered how to choose materials, follow the step-by-step process, explore creative variations, and solve common issues. Crocheting a hat is a fun and rewarding project that combines function with fashion.
We encourage you to try this pattern and see how easy it is to create a handmade hat that you will love to wear or gift. Please share your honest opinion and suggestions—we’d love to hear about your experience and see your beautiful creations.