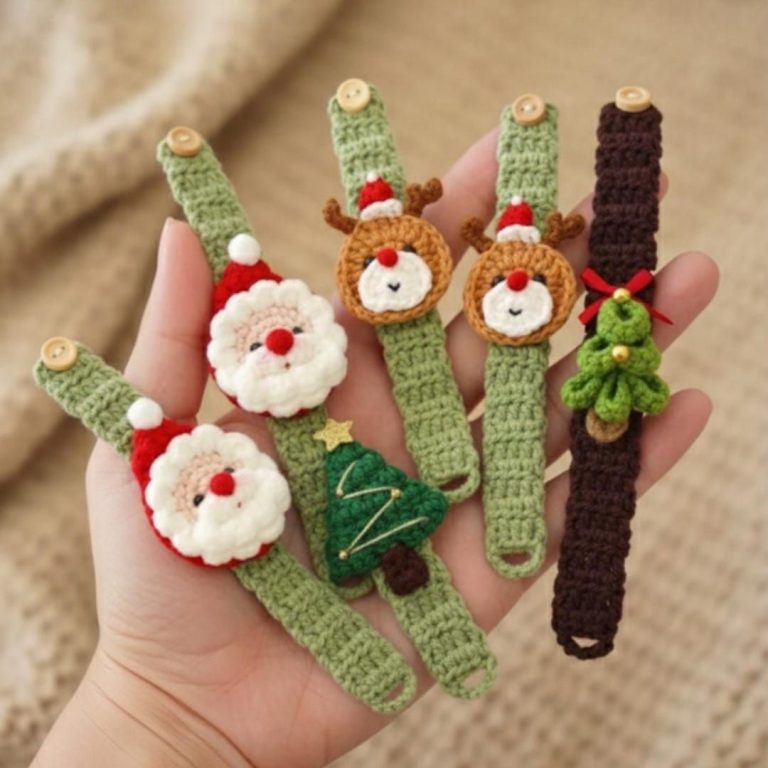
Christmas Bracelets – TUTORIAL


The Crochet Witch – TUTORIAL is a charming and festive project that brings the magic of handmade crafts into your seasonal decorations. Perfect for Halloween or anyone who loves whimsical crochet creations, this tutorial helps you design an adorable witch complete with classic details like a pointed hat and flowing robe. Whether you want to decorate your home, create a fun gift, or add to your amigurumi collection, this crochet project will delight both beginners and experienced crafters.
Crocheting themed figures like witches allows makers to experiment with colors, shapes, and accessories, making each creation one of a kind. The Crochet Witch – TUTORIAL encourages creativity with endless opportunities to personalize your witch’s outfit, hair, and even magical props. It’s a fun and rewarding way to combine your crochet skills with seasonal spirit.
This project is not just about making a cute decoration—it’s also about enjoying the process of creating something playful and imaginative. With just some yarn, a crochet hook, and a little time, you can bring your own magical character to life. In the next sections, we’ll explore materials, step-by-step instructions, creative ideas, and common questions to help you succeed with this enchanting pattern.
The Crochet Witch – TUTORIAL is designed as an amigurumi-style project, meaning it is worked in small, rounded sections that are stuffed and assembled. The witch typically includes features such as a pointed hat, flowing dress, broomstick, and expressive details like eyes and hair.
What makes this tutorial appealing is how versatile it is. You can keep your witch simple and beginner-friendly or add advanced details like textured hair, embroidered facial features, or intricate clothing. Each maker has the freedom to bring their own vision of a witch to life.
Amigurumi projects like this also help build foundational crochet skills. Working in the round, increasing and decreasing stitches, and assembling separate pieces are all common techniques practiced through this pattern. It’s a fun and practical way to gain experience.
This project is also small and manageable. Unlike large blankets or garments, the Crochet Witch – TUTORIAL can be completed quickly, making it satisfying for crafters who enjoy fast results. It’s a wonderful way to create something seasonal without committing to weeks of work.
Another advantage is the playful aspect. Children and adults alike love these crochet witches, whether used as toys, collectibles, or décor. It’s a project that brings smiles and a festive spirit into any home.
Lastly, creating a crochet witch adds to your holiday traditions. Imagine making a new one each year with different colors and styles, eventually building a unique collection of handmade seasonal characters.
To begin the Crochet Witch – TUTORIAL, you’ll need some basic crochet supplies and materials. The main requirement is yarn in various colors, typically black for the hat and robe, green or beige for the skin, and accent colors for accessories. Acrylic yarn is a popular choice for amigurumi projects because it is durable and holds its shape well.
You will also need the correct crochet hook size for your yarn. Amigurumi projects usually call for a smaller hook than usual to create tight stitches that prevent stuffing from showing through. Common hook sizes range from 2.5 mm to 4 mm depending on yarn weight.
Polyester fiberfill stuffing is essential to give the witch shape and volume. Safety eyes or embroidered details can be used for facial features, and felt or small embellishments may add charm to the finished piece.
Before you begin crocheting, it’s helpful to prepare your yarn by winding it into balls if needed and organizing the different colors. Having everything ready makes the process smoother and more enjoyable.
Stitch markers are useful for keeping track of rounds, especially in projects worked in continuous spirals. A tapestry needle will be necessary for sewing the different parts of the witch together once all the pieces are crocheted.
Finally, decide on the size of your project. You can easily adjust the pattern by using thicker yarn and a larger hook for a bigger witch or smaller yarn and hook for a tiny version. This flexibility allows you to create witches for different purposes, from keychains to centerpieces.
The Crochet Witch – TUTORIAL usually begins with crocheting the body. This is typically worked in rounds, starting from the base and increasing to form a rounded shape. Once the body is complete, it is stuffed and set aside for assembly.
Next comes the head, which follows a similar process. The head can be shaped with simple increases and decreases. Adding safety eyes or embroidered details at this stage helps bring personality to your witch.
The hat is one of the most recognizable features of the witch. It is usually crocheted as a cone with a brim, often in black or purple yarn. The hat can be sewn onto the head or left removable for extra play value.
Arms, legs, and other details are crocheted separately. These smaller pieces are then stuffed lightly and attached to the body. Positioning them carefully ensures balance and a natural look.
Accessories add extra character to your witch. Many crafters enjoy making a small broomstick, cauldron, or tiny potion bottle to go with their witch. These details can be crocheted or made from felt, sticks, and other craft supplies.
Finally, all pieces are sewn together securely, and finishing touches like hair, embroidery, or decorations are added. The result is a whimsical and festive handmade witch ready to display or gift.
One of the best parts of the Crochet Witch – TUTORIAL is how customizable it is. You can experiment with colors, accessories, and facial expressions to create a unique character every time.
Some crafters prefer a classic look with a black hat, dark robe, and green skin, while others choose pastel colors for a cute and friendly witch. Using variegated yarn can add interesting textures to the hair or clothing.
For a playful twist, you could design a family of witches in different sizes. A tiny witch keychain, a medium-sized witch doll, and a larger decorative witch could all be part of a collection.
Another variation is to create themed witches, such as a holiday witch in red and green for Christmas or a spring witch with floral accessories. This allows the pattern to be adapted beyond just Halloween.
Personalization is another fun option. Adding glasses, freckles, or special hats gives your crochet witch more individuality. You could even design a witch inspired by a favorite book or movie character.
Lastly, don’t forget the accessories. A crochet broom, cauldron, or even a black cat companion can enhance your project and make it even more magical. The possibilities are endless, and each detail adds to the charm.
What skill level is required for the Crochet Witch – TUTORIAL?
It is suitable for beginners to intermediate crocheters. Basic knowledge of single crochet, increases, and decreases is helpful.
How long does it take to complete the project?
Most crafters can finish the witch in a few evenings, depending on the size and complexity of details.
Can I make the witch larger or smaller?
Yes, by changing yarn weight and hook size, you can adjust the size easily without altering the pattern significantly.
What type of yarn works best?
Acrylic yarn is recommended because it is affordable, durable, and holds its shape well in amigurumi projects.
Is it safe for children?
Yes, but avoid small safety eyes for very young children. Embroidering features is safer for baby-friendly versions.
Can I sell my finished Crochet Witch?
Yes, handmade witches from this tutorial can be sold, but be sure to credit the pattern creator if required.
The Crochet Witch – TUTORIAL is a fun, creative, and magical project that combines seasonal charm with crochet skills. By following the steps and adding your own unique touches, you can create a witch that perfectly reflects your style and imagination.
This tutorial is beginner-friendly, quick to complete, and highly customizable, making it an excellent addition to your holiday crafting. Whether you make one as a decoration, a gift, or part of a collection, the result will always be delightful. Try it out, and don’t forget to share your thoughts and suggestions—we’d love to hear about your experience bringing this whimsical witch to life.
