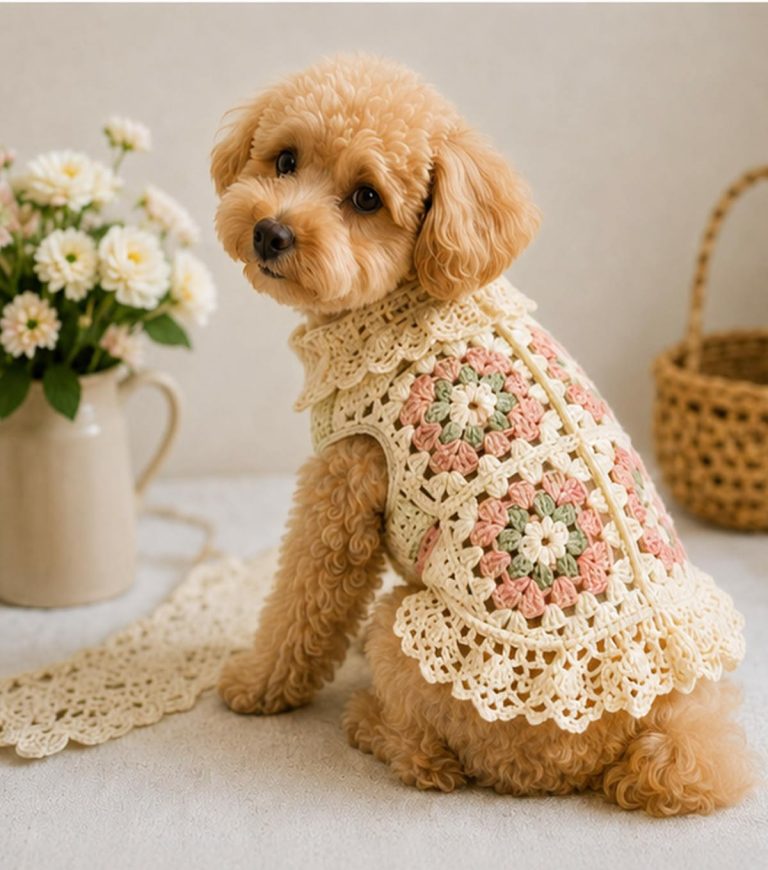
Easy Crocheted Dog Sweater

Crochet Butterfly Coaster – TUTORIAL is a delightful project for crochet lovers who enjoy mixing creativity with functionality. This pattern combines the beauty of butterfly motifs with the practicality of a coaster, resulting in a handmade item that is both decorative and useful. The Crochet Butterfly Coaster – TUTORIAL is designed for makers of all levels, whether you are just starting your crochet journey or you already have years of experience. Its charming design can add a touch of elegance to your table while also giving you the satisfaction of creating something by hand.
One of the most wonderful aspects of the Crochet Butterfly Coaster – TUTORIAL is how versatile it can be. You can create these coasters in a rainbow of colors, making them suitable for any occasion, from spring gatherings to holiday parties. They also make thoughtful, budget-friendly handmade gifts that show care and attention. With just a small amount of yarn and some time, you can craft coasters that will impress your guests and protect your furniture at the same time.
This project is also a great opportunity to practice basic stitches while learning how to form shapes that resemble butterfly wings. Following the Crochet Butterfly Coaster – TUTORIAL step by step will not only improve your skills but also give you a fun result you can use daily. These coasters are more than just practical; they bring joy, color, and a handmade touch to your home décor.
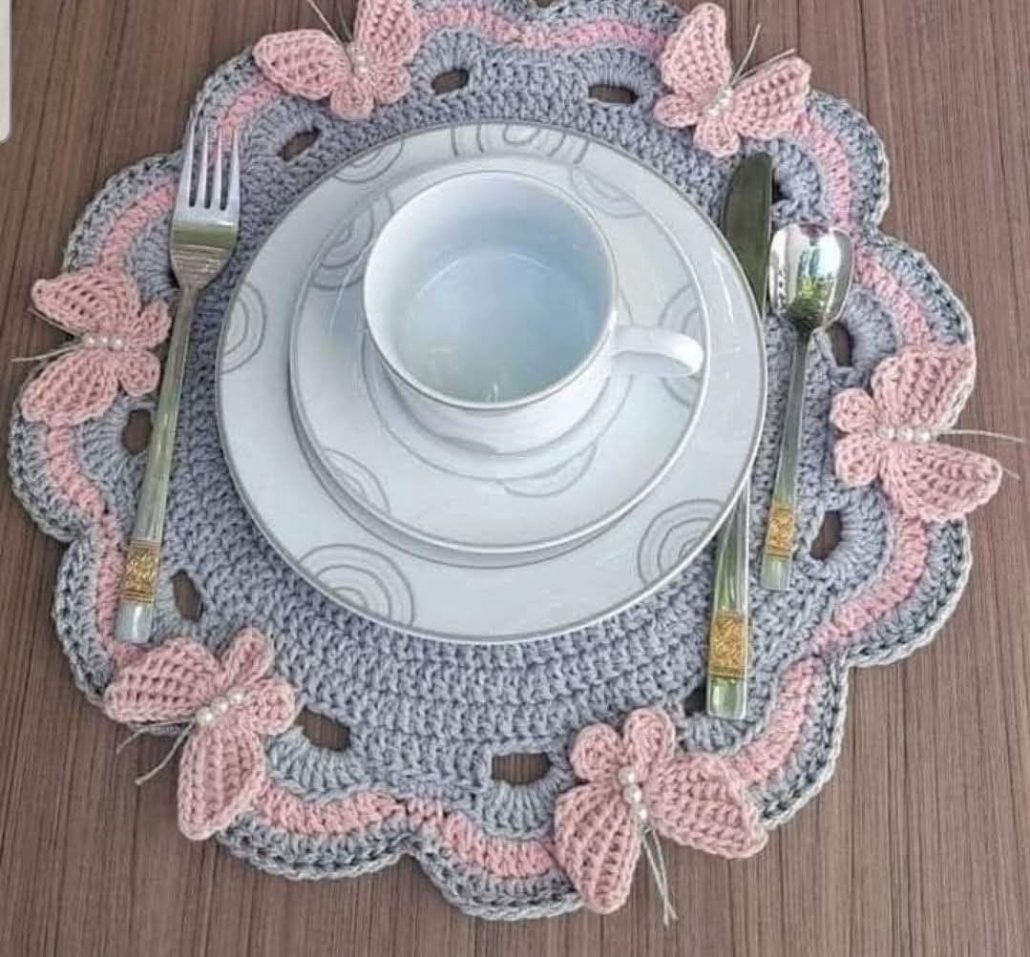
The Crochet Butterfly Coaster – TUTORIAL introduces crafters to a project that combines artistry with utility. Unlike traditional coasters, this pattern allows you to create pieces that resemble butterflies, adding a whimsical touch to any setting. It transforms a simple item into something decorative, making it an ideal project for anyone looking to merge function with beauty.
One of the main advantages of this tutorial is its accessibility. Even beginners who are still mastering crochet basics can follow along and successfully complete a coaster. The design does not require advanced techniques, which makes it a great confidence-building project.
Additionally, the Crochet Butterfly Coaster – TUTORIAL is a scrap-friendly project. You don’t need large amounts of yarn to complete each piece, so it’s perfect for using leftover yarn from previous creations. This sustainable approach helps reduce waste while giving your yarn remnants a new life.
These coasters can also be customized endlessly. By experimenting with yarn colors, you can make butterflies that are realistic, pastel-toned for spring, or bold and vibrant for festive occasions. This flexibility makes the project enjoyable for anyone with a creative spirit.
Another highlight of the tutorial is its focus on shaping. You’ll learn how to manipulate basic stitches into wings, bodies, and outlines that create the appearance of butterflies. This skill can later be applied to other crochet motifs, broadening your crafting abilities.
Finally, the Crochet Butterfly Coaster – TUTORIAL helps crafters explore how crochet can go beyond traditional uses. By turning a simple household item into art, you gain not only a coaster but also a conversation starter and a piece of handmade décor.
Before you begin the Crochet Butterfly Coaster – TUTORIAL, you’ll need a few essential materials. Yarn is, of course, the most important. Cotton yarn is typically the best choice for coasters, as it is durable, absorbent, and easy to wash. Choose colors that complement your home décor or event theme.
Next, you’ll need the appropriate crochet hook size for your chosen yarn. Most coaster patterns work well with smaller hooks to ensure a tight, sturdy stitch that maintains its shape. Check the yarn label for recommended hook sizes or adjust based on your tension.
Scissors and a yarn needle are also must-have tools. Scissors will help you trim yarn neatly, while the yarn needle is useful for weaving in loose ends so your coasters have a polished, finished look.
A stitch marker can also come in handy, especially if you are new to working in rounds or want to keep track of your stitches easily. Though optional, it can make the process smoother and reduce mistakes.
Another optional material is a blocking mat and pins. Blocking your finished coaster can help shape the butterfly wings neatly and give your project a professional finish. This is especially helpful if you plan to gift your coasters.
Finally, keep your Crochet Butterfly Coaster – TUTORIAL instructions nearby, whether on paper, a digital device, or printed out. Having step-by-step guidance visible ensures you can follow the pattern without losing your place.
To begin the Crochet Butterfly Coaster – TUTORIAL, you will typically start with a magic ring or a small chain circle as the base. This forms the center of the butterfly and gives you a solid foundation for building the wings.
From this base, you will crochet the butterfly wings using combinations of basic stitches like single crochet, half-double crochet, and double crochet. These stitches are strategically placed to create rounded shapes that resemble the wings’ curves.
Once the wings are formed, you will add details to define the butterfly’s body and create symmetry. Depending on the tutorial version, this might include crocheting along specific edges or adding a central chain.
After finishing the main body of the coaster, it’s time to refine its appearance. You may crochet an outline around the entire piece to strengthen the shape and ensure durability. This edging can be done in a contrasting color to make the butterfly stand out even more.
When the crocheting is complete, weave in all yarn ends with a needle. This step ensures the coaster looks tidy and prevents unraveling during use or washing.
At this point, you can block the coaster if desired. Pin it into shape on a blocking mat and let it dry to set the form. The result is a polished, functional, and beautiful butterfly coaster ready for use.
One of the best parts of the Crochet Butterfly Coaster – TUTORIAL is its versatility beyond being a coaster. These little butterflies can be used in many creative ways around your home or as gifts.
You can create a full set of coasters in different colors to brighten up your dining table. Matching sets can also be packaged and given as handmade presents for birthdays, holidays, or housewarming events.
Another idea is to use these butterfly motifs as decorative appliqués. Attach them to tote bags, pillow covers, or blankets to add a whimsical touch. The pattern doubles as both a coaster and an embellishment.
They also make excellent party favors. Imagine a spring or summer gathering where each guest takes home a handmade butterfly coaster as a keepsake. It adds a personal and memorable touch to any event.
For crafters who sell handmade items, the Crochet Butterfly Coaster – TUTORIAL can be turned into a product line. Since the coasters are quick to make and require little yarn, they can be profitable while showcasing your creativity.
Lastly, these coasters can also become part of seasonal décor. They look wonderful during spring celebrations, Easter brunches, or summer garden parties, adding charm and character to your setup.
What skill level is required for the Crochet Butterfly Coaster – TUTORIAL?
This tutorial is suitable for beginners and intermediate crocheters. Basic stitch knowledge is all you need.
What type of yarn is best for this pattern?
Cotton yarn is recommended because it is durable, easy to clean, and holds its shape well.
How long does it take to make one coaster?
On average, it takes about 30 to 60 minutes to complete a single butterfly coaster.
Can I use different colors for each wing?
Yes, experimenting with colors is encouraged. Different wing colors can create striking and playful designs.
Do I need to block the finished coaster?
Blocking is optional but recommended for a professional look and well-shaped wings.
Are these coasters washable?
Yes, they can be washed gently by hand or in a laundry bag on a delicate machine cycle, especially if made with cotton yarn.
The Crochet Butterfly Coaster – TUTORIAL offers a wonderful opportunity to blend creativity with functionality. From learning how to form butterfly shapes to experimenting with colors and making practical coasters, this project is rewarding at every stage. It’s perfect for beginners and experienced crocheters alike who want to add something special to their handmade collection.
PATTERN VIDEO:
By following the Crochet Butterfly Coaster – TUTORIAL, you’ll not only improve your crochet skills but also create items that brighten your home and make perfect gifts. We’d love to hear your opinions, ideas, and variations. Share your experiences with us in the comments and inspire others to bring their butterfly coasters to life!