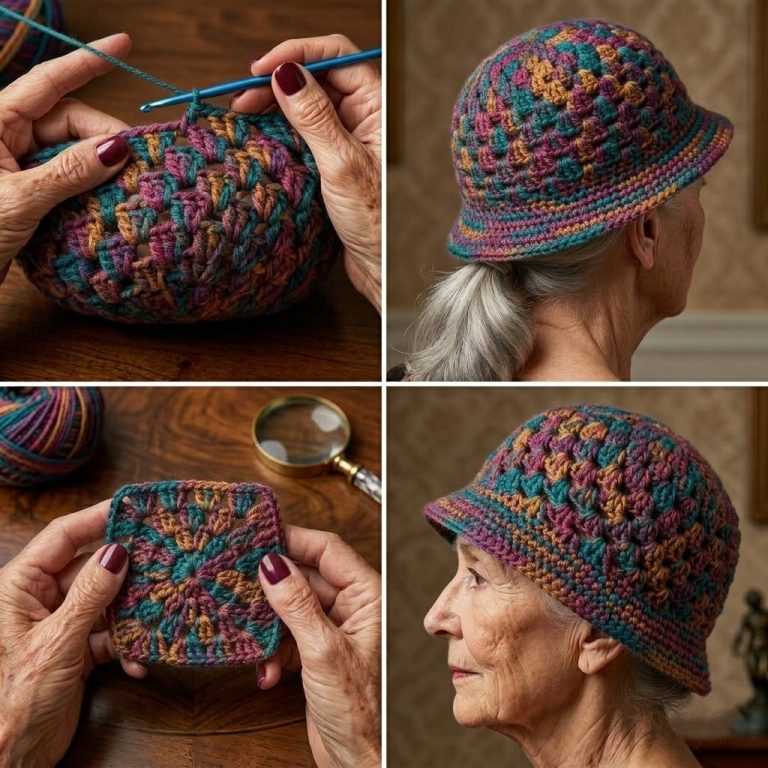
Crochet Bucket Hat Tutorial

Creating a Crochet Angel is a heartwarming and beautiful way to bring handmade charm into your holiday decorations or year-round gifts. This Crochet Angel – TUTORIAL will guide you step by step to craft a delicate and graceful angel using only a hook, some yarn, and a little patience. Perfect for beginners or experienced crocheters, this tutorial is designed to be easy to follow and deeply satisfying to complete.
Whether you’re preparing for Christmas, a christening, or just love adding angels to your decor, this pattern offers a blend of tradition and creativity. The beauty of this Crochet Angel – TUTORIAL lies in its simplicity, and yet the final product appears elegant and detailed. Once you master one, you’ll likely want to make several as gifts, ornaments, or keepsakes.
In this guide, we will use Crochet Angel – TUTORIAL as our central theme, including variations, techniques, and common questions. Follow along as we explore materials, design tips, and creative ideas to make each angel truly your own.
Choosing the right materials is essential for making your Crochet Angel look elegant and last for years. Yarn selection affects not only the angel’s texture but also how stiff or soft it turns out.
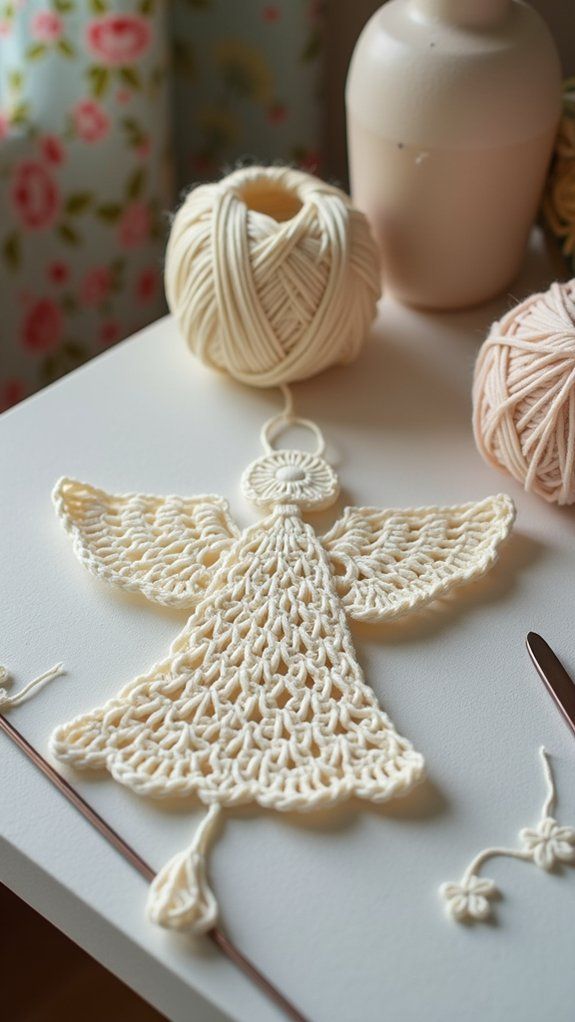
Start by selecting a fine cotton or acrylic yarn. White or cream shades are the most popular for angel patterns, but you can experiment with pastels or metallic threads for a modern twist. Yarn weight should ideally be light (category 1 or 2) for small ornaments.
You’ll also need a compatible crochet hook, usually size 2.25mm (B) to 3.5mm (E). The tighter the stitch, the better the angel will hold its shape. A small steel hook is great for intricate lace-like work, especially for wings and halo details.
Optional materials include a small amount of stuffing for the body and head if you want a 3D angel. You may also want to include stiffening spray or a mixture of glue and water to keep the wings and skirt in shape.
Don’t forget decorative embellishments like beads, small ribbons, or even glitter if you want your Crochet Angel to sparkle under Christmas lights.
Lastly, keep scissors, a tapestry needle, and stitch markers on hand to help with finishing and assembling the various parts.
This Crochet Angel – TUTORIAL is divided into easy steps so anyone can follow along. Whether you’re new to crochet or have years of experience, these instructions will walk you through the process smoothly.
Begin with the angel’s head by crocheting a small ball using single crochet stitches in the round. Stuff it lightly to keep its shape, and finish off the top neatly. This creates the base for the body.
Next, move on to the body using a cone-shaped pattern. Double crochet stitches work well here, especially if you’re looking for flow and elegance. You can increase evenly in the round or work in rows depending on the style you want.
For the wings, you can either crochet two small triangular shapes or use lacy shell stitches to mimic feathers. Attach them to the back using a tapestry needle and secure them with a few tight stitches.
The arms are optional but add character. Crochet two tiny tubes or chains and attach them in a prayer pose or holding a small object like a heart or bell.
Finish off by creating a halo. A simple gold yarn chain stitched into a circle and sewn on top of the head works beautifully. If you prefer, a metallic ring or embroidery hoop can be used instead.
Once assembled, lightly block or stiffen your angel using spray starch or diluted glue to help it stand or hang perfectly.
One of the best aspects of this Crochet Angel – TUTORIAL is its versatility. Crochet angels make delightful holiday ornaments, gifts, and even personal tokens of remembrance or inspiration.
You can use a small angel as a Christmas tree ornament. Just add a loop to the top of the halo or head for easy hanging. Use gold, silver, or glitter yarn for festive appeal.
Make a set of mini angels to give as gifts or attach them to holiday cards. Add a personal message to make it more meaningful. These are great for teachers, neighbors, or charity drives.
Large angels can be used as table centerpieces or tree toppers. Use stiffer yarn and blocking techniques to ensure they stand tall and hold shape.
Angels are also perfect for christenings or baby showers. Embroider the baby’s initials or date of birth onto the angel for a keepsake that will be cherished for years.
Another creative use is to add a magnet or pin to turn your angel into wearable art or a fridge accessory. This turns a simple craft into something practical and stylish.
Finally, consider making a collection of angels in various colors and sizes to display around the home throughout the year. Their symbolism brings comfort, peace, and beauty to any space.
Once you’ve mastered the basics of this Crochet Angel – TUTORIAL, you’ll likely want to add your own personal flair. Customizing allows you to create angels that reflect your style or the recipient’s personality.
Change up the yarn. Use gradient yarns for a dreamy effect or metallic threads for something bold. Mix and match textures for a more whimsical angel design.
Try using different stitches for the skirt or wings. Shell stitches, picots, or puff stitches can give your angel more texture and visual interest. The more you experiment, the more unique your angel becomes.
Incorporate color. Although traditional angels are white or ivory, you can use blues, pinks, or even multicolored yarns to fit various holidays or themes.
Add small accessories like crocheted flowers, tiny books, or miniature musical instruments to represent what your angel stands for. This makes each piece feel more intentional and expressive.
You can also play with size. Use finer yarn and a smaller hook for a mini angel or go larger with worsted-weight yarn for a table centerpiece.
Personalize by embroidering names, dates, or short blessings on the angel’s body. This makes them suitable for baptisms, memorials, or milestone events.
Q: Is this Crochet Angel pattern beginner-friendly?
A: Yes, it’s designed with simple stitches and minimal shaping, making it perfect for beginners with basic crochet knowledge.
Q: How long does it take to make one Crochet Angel?
A: Depending on your skill level and size, it typically takes 2–4 hours to complete one angel.
Q: What yarn is best for making a Crochet Angel?
A: Lightweight cotton or acrylic yarn is ideal for a clean, elegant look. White or cream shades are traditional.
Q: Can I wash my finished Crochet Angel?
A: It’s best to hand wash gently if needed, especially if you used stiffeners or embellishments.
Q: How do I make my angel stand up?
A: Use a stiffer yarn or stiffening spray. You can also insert a small cardboard base inside the skirt.
Q: Can I sell the angels I make from this tutorial?
A: Yes, handmade items can be sold, but always credit the original design source if applicable.
This Crochet Angel – TUTORIAL provides a complete and heartwarming way to create beautiful, handcrafted decorations and gifts. From gathering your materials to adding personal touches, every step has been designed to inspire and guide you toward crafting something meaningful.
Whether for the holidays, special occasions, or just as a thoughtful gift, these crochet angels can bring light and joy into anyone’s life. We hope this tutorial has helped you feel confident and excited to start your own angel project.
We’d love to hear your thoughts! Please leave a sincere opinion or suggestion in the comments. Did you enjoy this pattern? What would you like to learn next? Your feedback helps us grow and create better content for our creative community. 👼💬🧶