Strawberry-Shaped Crochet Bag - PATTERN

The Crochet Granny Square Eye is a beautiful and fun variation of the traditional granny square. This crochet design features an eye-catching pattern with a unique twist, making it a perfect choice for blankets, shawls, bags, or even clothing accessories. In this tutorial, we will guide you through each step of creating your own Crochet Granny Square Eye, from start to finish. Whether you’re new to crochet or an experienced crafter, this pattern will help you create a beautiful and versatile piece of crochet art.
In this detailed guide, we’ll explore the materials you need, the basic crochet techniques to use, and each step of constructing the Granny Square Eye.
You’ll also learn how to incorporate this design into various projects. With its charming, circular “eye” shape in the center, this granny square will stand out in any crochet project. So, grab your yarn and hook, and let’s get started!
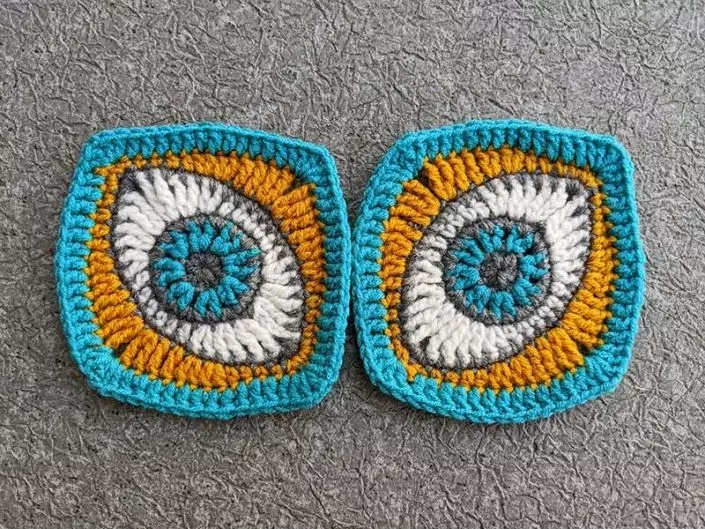
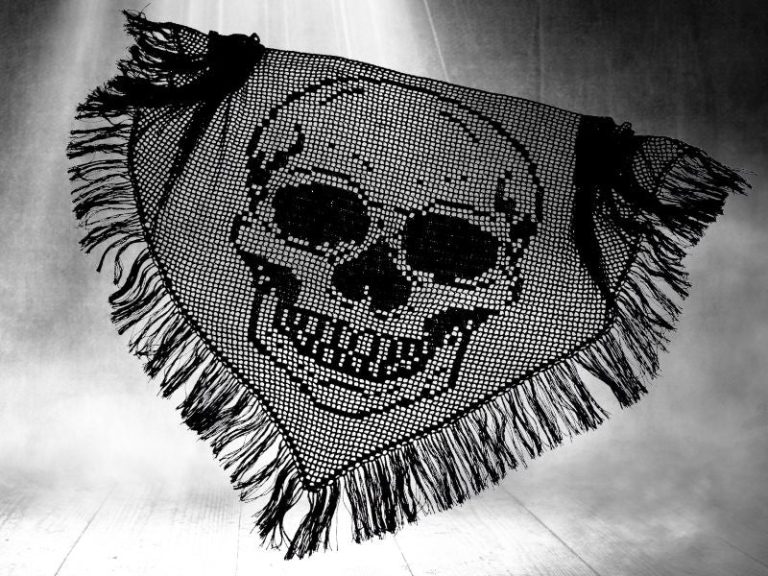
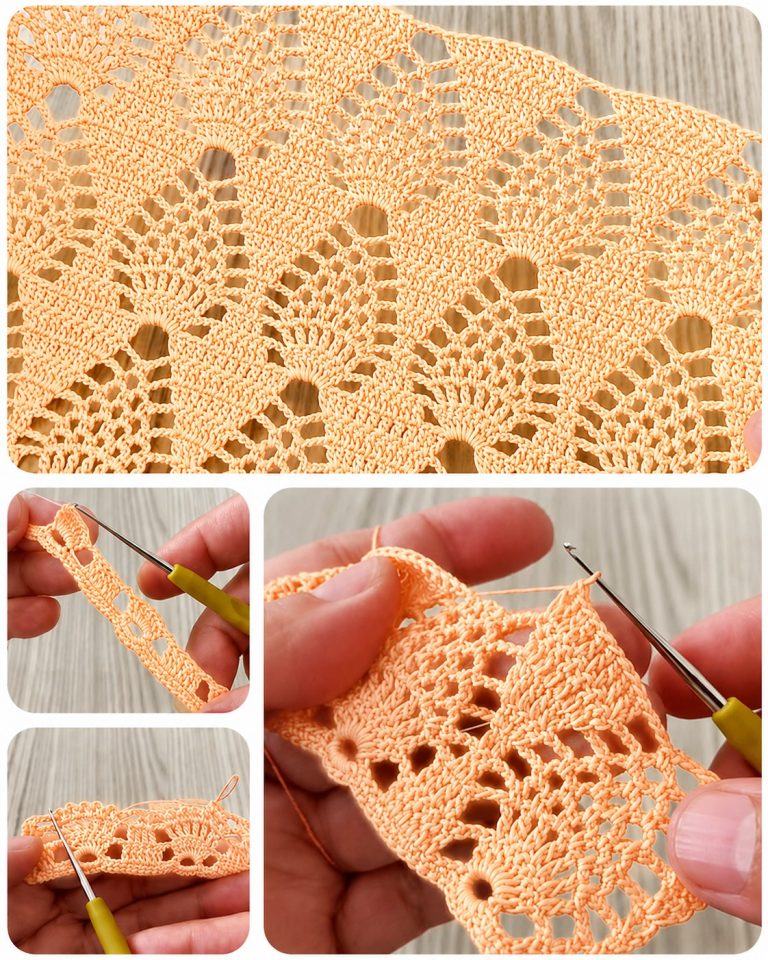
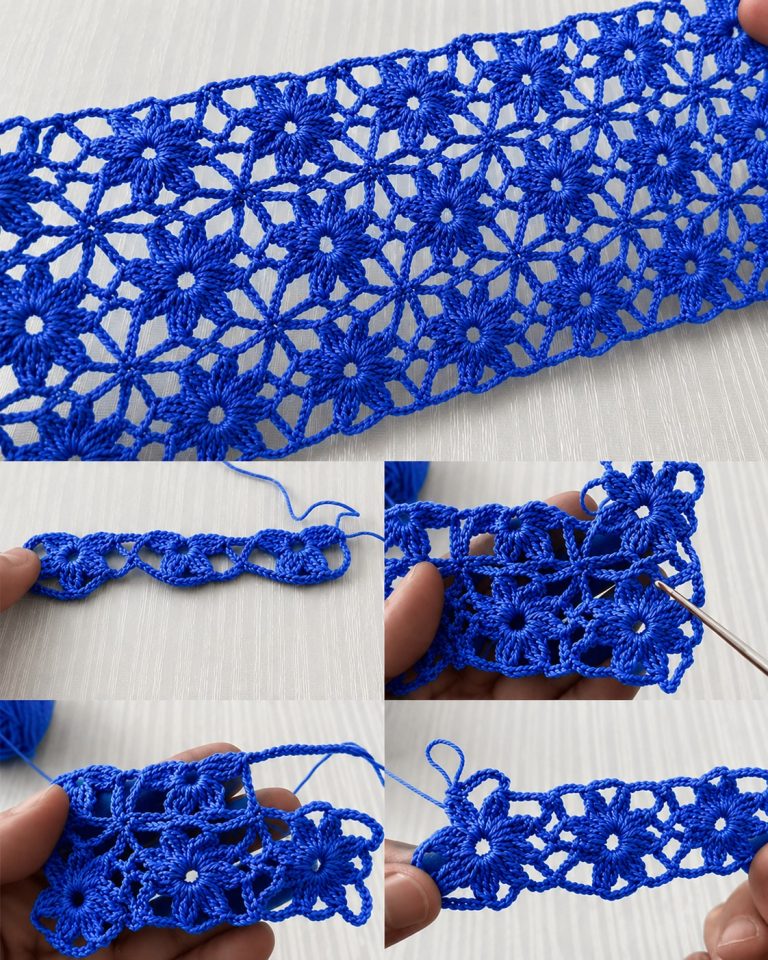
Image From Pinterest
To get started with your Crochet Granny Square Eye, you’ll need a few basic supplies. Gathering your materials before you begin ensures that you’ll have everything you need to complete the project. Here’s what you’ll need:
DISCOVER MORE FREE PATTERNS HERE!
Once you have your materials ready, let’s move on to the first step: starting the foundation chain.
The center of the Granny Square Eye is the most important part of the pattern, as it gives the design its distinct “eye” appearance. Here’s how to get started:
Now, you’ve completed the center of the Granny Square Eye. Let’s move on to building the outer layers of the square.
Once the center of your Granny Square Eye is complete, we’ll start working on the outer rounds to create the traditional granny square shape. The outer rounds consist of a combination of chain stitches, double crochets, and space between stitches. Here’s how to do it:
After this step, your Granny Square Eye is complete, with the distinct “eye” at the center surrounded by the outer square. You can choose to leave the square as-is or continue with additional rounds for a larger square.
Once your Granny Square Eye is complete, the last step is to finish off the square neatly. Here’s how to do it:
With these finishing touches, your Crochet Granny Square Eye is ready to be used in any of your crochet projects!
1. What size will my Granny Square Eye be?
The size of your granny square will depend on the yarn and hook you use. With worsted weight yarn and a 5mm hook, each square will typically measure around 4-5 inches (10-12 cm). You can adjust the size by using a different yarn weight or hook size.
2. Can I make the Granny Square Eye in one color?
Yes, you can make the Granny Square Eye in one color. The contrasting “eye” effect is achieved by using two different colors, but you can choose to simplify the design and use a single color for the entire square if you prefer.
3. How many Granny Square Eyes do I need to make a blanket?
The number of squares you need will depend on the size of the blanket you want. For a small lap blanket, you might need 30-40 squares, while a larger blanket could require 100 or more. You can also adjust the size of the squares to suit your design.
4. Can I use this pattern for other projects?
Yes, the Granny Square Eye is versatile and can be used for a variety of crochet projects, such as blankets, pillow covers, bags, and even clothing. The design can be modified to fit different styles and preferences.
5. How do I join the granny squares together?
You can join your Granny Square Eyes using several methods, such as whip stitch, slip stitch, or a join-as-you-go technique. Each method has its advantages, so choose the one that works best for your project.
6. Can I add more rounds to make the square larger?
Yes, you can add more rounds to make the square larger. Just be sure to continue following the same pattern, increasing the number of stitches in each round as necessary to maintain the shape of the square.
In this tutorial, we’ve walked through the process of creating the Crochet Granny Square Eye, from gathering materials to finishing your square. This fun and versatile pattern can be used in a variety of crochet projects, adding a unique and decorative touch to any design. We hope you enjoyed this step-by-step guide and feel inspired to incorporate the Granny Square Eye into your future projects. If you have any feedback or suggestions, please leave a comment below. Happy crocheting!