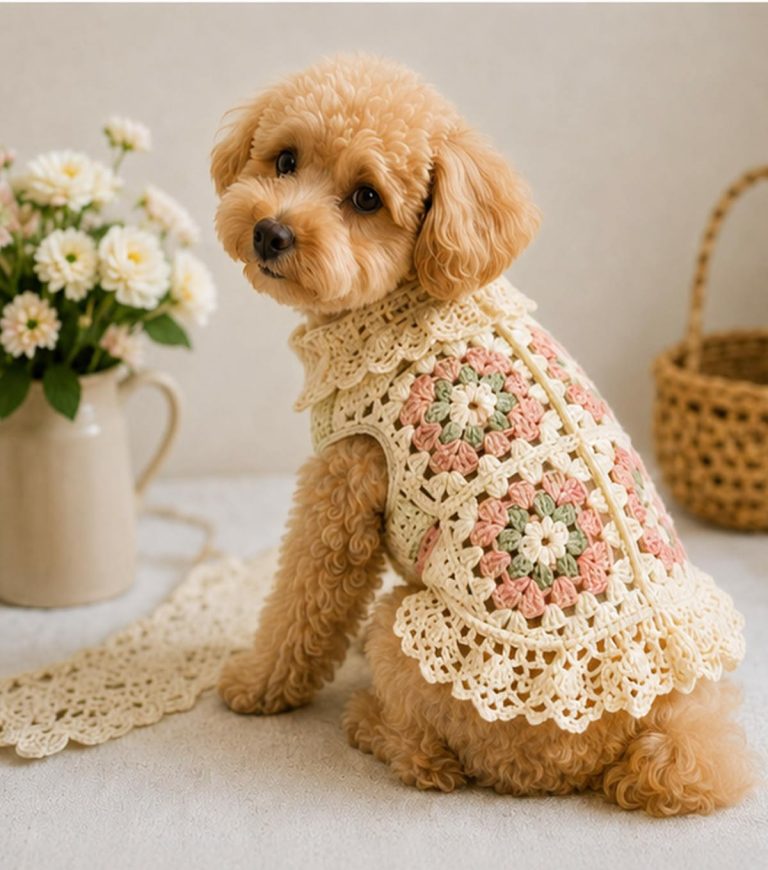
If you’re looking to add a little sweetness to your crochet projects, the Crochet Cherry Applique – TUTORIAL is the perfect way to do so. This charming and simple design brings a fresh, fruity flair to any crochet work, from bags and hats to blankets and home decor. Crocheting cherries is an easy and fun way to personalize your projects, and with the right technique, you’ll be able to add this delightful applique to virtually anything!
In this tutorial, we’ll guide you through the process of crocheting your very own cherry applique. Whether you’re a beginner or an experienced crocheter, this pattern is beginner-friendly and can be used to enhance various DIY projects.
By the end of this guide, you’ll know exactly how to create the perfect little cherry that will stand out on your crochet pieces.Now, let’s jump into the step-by-step instructions for the Crochet Cherry Applique – TUTORIAL.
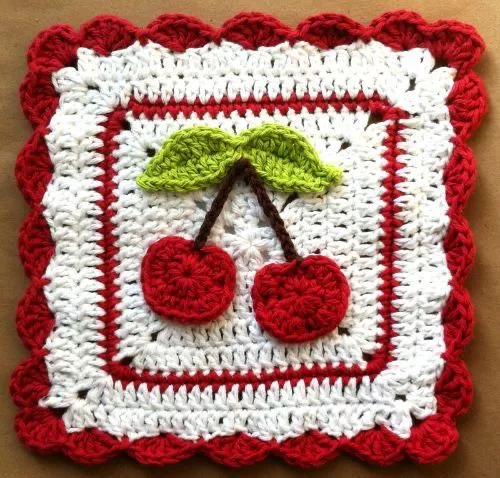
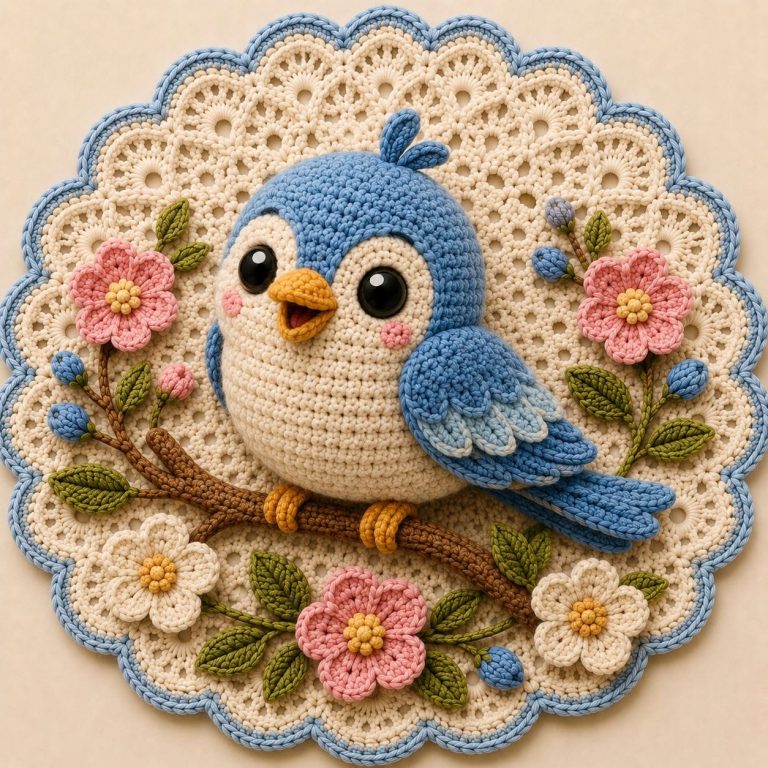
1. Materials Needed for the Crochet Cherry Applique
Before you begin crocheting your cherry applique, you’ll need to gather the necessary materials. These supplies are easily available at most craft stores or online, and they’ll help you create a cute and vibrant cherry applique for your crochet projects.
DISCOVER MORE FREE PATTERNS HERE!
Yarn:
-
- Red yarn for the cherry itself
- Green yarn for the leaf and stem
- Crochet hook: A 3.5mm or 4.0mm crochet hook will work well for this project.
- Scissors: You’ll need a pair of scissors to cut your yarn after completing each section.
- Yarn needle: This tool is used to weave in loose yarn ends and attach the applique to your project.
- Stitch marker (optional): A stitch marker can help keep track of your rounds, especially if you’re new to crochet.
Once you’ve gathered all your materials, you’ll be ready to begin the Crochet Cherry Applique!
2. Step-by-Step Instructions for Creating the Cherry Applique
Creating your Crochet Cherry Applique involves just a few simple steps, making it a great project for beginners. Here’s how you can crochet your own cherry applique:
Step 1: Crochet the Cherry
- Start with a magic ring: Begin by creating a magic ring with red yarn. If you’re not familiar with the magic ring, you can also start with a small chain and join it into a ring.
- Round 1: Chain 1 and work 6 single crochet (sc) stitches into the magic ring. Pull the ring tight to close it.
- Round 2: Work 2 single crochet stitches into each stitch from Round 1. You should now have 12 single crochet stitches.
- Round 3: Work 1 single crochet stitch into the first stitch, then 2 single crochet stitches into the next stitch. Repeat this pattern (1 sc, 2 sc) around the entire round, which should give you 18 stitches.
- Round 4: Work 1 single crochet stitch into each stitch around for the next round. Continue for 2 or 3 more rounds depending on how big you want your cherry. You can make it as large or small as you like!
Once you’ve finished the cherry shape, fasten off the red yarn, leaving a long tail to sew the cherry to your project.
Step 2: Crochet the Leaf
- Start with a slip knot: Using green yarn, create a slip knot and chain 5 stitches.
- Row 1: Starting in the second chain from the hook, work 1 single crochet stitch, then 1 half double crochet (hdc), followed by 1 double crochet (dc), and then 1 half double crochet (hdc) again. Finish by working 1 single crochet stitch into the last chain.
- Finish the leaf: Fasten off and leave a long tail to sew the leaf onto your cherry.
Step 3: Crochet the Stem
- Chain 6: With green yarn, chain 6 stitches for the stem.
- Work the stem: Single crochet into each chain stitch until you reach the end. Fasten off, leaving a small tail to sew the stem to the cherry.
Step 4: Assemble the Cherry Applique
- Attach the cherry: Using the yarn needle, sew the leaf and stem onto the cherry applique, placing the stem at the top center and the leaf slightly to one side.
- Weave in the ends: Once the leaf and stem are securely attached, weave in any loose ends using the yarn needle.
And that’s it! You’ve successfully created a Crochet Cherry Applique that you can now add to your favorite crochet projects.
3. How to Use Your Crochet Cherry Applique
Once your Crochet Cherry Applique is complete, the possibilities for using it are endless! Here are a few ideas for incorporating your new applique into different crochet projects:
- Embellish hats and scarves: Add a playful cherry applique to a crochet hat, scarf, or headband for a pop of color and fun.
- Add to bags and purses: Attach a few cherries to a crochet bag or purse to make it more eye-catching.
- Decorate home accessories: Crochet cherries are perfect for home decor projects, such as blankets, pillows, or table runners. You can even make a whole cherry-themed blanket by repeating the pattern!
- Create patches for clothing: Sew your cherries onto denim jackets, t-shirts, or skirts for a fun and whimsical touch to your wardrobe.
- Give as gifts: If you’re looking for a thoughtful, handmade gift, you can attach cherries to items like bookmarks, keychains, or small pouches.
The Crochet Cherry Applique is versatile and can be customized to fit any project, adding a fresh, playful look to everything you crochet.
4. Tips and Tricks for Perfecting Your Crochet Cherry Applique
To help you achieve the best possible results with your Crochet Cherry Applique, here are a few helpful tips and tricks:
- Use different shades of red: To create depth in your cherries, consider using a darker red for the outer part of the cherry and a lighter red for the inner part. This will give your applique a more realistic and three-dimensional look.
- Experiment with different leaf shapes: While we used a simple leaf pattern here, you can play around with other leaf designs to make your applique more unique.
- Stitch tightly: When crocheting the stem and leaf, make sure to stitch tightly so they hold their shape and stay in place when attached to your project.
- Use a different yarn texture: For added flair, consider using a variegated or textured yarn for the cherry, stem, or leaf. This can give your applique an interesting effect and make it stand out.
- Make them in different sizes: Feel free to adjust the size of the cherry by changing the number of rounds or the type of stitch used. This allows you to make a collection of cherries in various sizes for different projects.
By following these tips, you’ll ensure that your Crochet Cherry Applique looks great and adds a unique, fun element to your crochet creations!
FAQ: Frequently Asked Questions
1. Can I use other crochet stitches for the cherry applique?
Yes, you can experiment with other crochet stitches like half double crochet or double crochet to create different textures for your cherry. Just make sure to adjust the stitch count to maintain the shape.
2. How do I attach the applique to my crochet project?
To attach the cherry applique, simply use a yarn needle and sew it onto your project with small, discreet stitches. Make sure it’s securely fastened so it doesn’t come loose during use.
3. Can I make multiple cherries?
Absolutely! You can make as many cherries as you like and arrange them in different ways to create a cluster or pattern. This is great for projects like blankets or bags.
4. Can I use the cherry applique for knitting projects?
Yes, you can use the cherry applique for knitting projects as well! Just follow the same steps, but instead of crocheting, knit the pieces and attach them to your project in the same manner.
5. How long does it take to make the Crochet Cherry Applique?
The cherry applique is a quick and simple project, and it should take about 30 minutes to an hour to complete, depending on your skill level and speed.
Conclusion
In this Crochet Cherry Applique – TUTORIAL, we’ve shown you how to create a simple and charming cherry design that can be added to a variety of crochet projects. Whether you’re embellishing a bag, a hat, or a blanket, the cherry applique adds a fun, playful touch. We hope this tutorial has inspired you to create your own crocheted cherries and explore even more creative ways to use them in your designs!
If you enjoyed this tutorial, please leave a comment below with your thoughts or suggestions. We’d love to hear how you plan to incorporate your Crochet Cherry Applique into your next project. Happy crocheting!