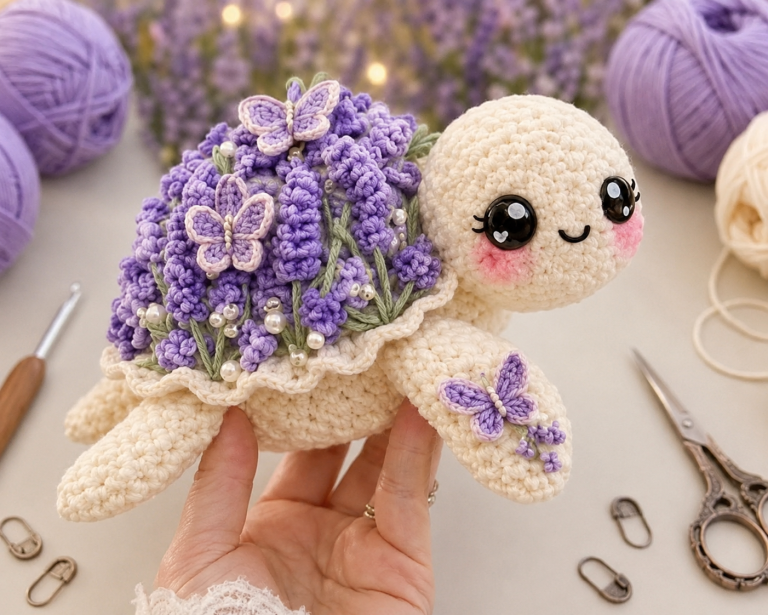
Lavender Turtle Crochet Pattern

Creating a Tweety Bird Amigurumi is a delightful way to bring this iconic, cheerful character to life through crochet. With its bright yellow feathers, big eyes, and playful personality, Tweety is a favorite among cartoon lovers of all ages.
Whether you’re an experienced crocheter or just starting out, making a Tweety Bird amigurumi is an enjoyable and rewarding project.
Amigurumi, the Japanese art of crocheting small, stuffed toys, is a great way to express your creativity and make personalized gifts. In this guide, we will walk you through the process of crocheting your very own Tweety Bird Amigurumi step by step, ensuring you end up with an adorable, huggable version of this beloved character.Let’s dive into this fun project and bring Tweety Bird to life with your crochet hook!

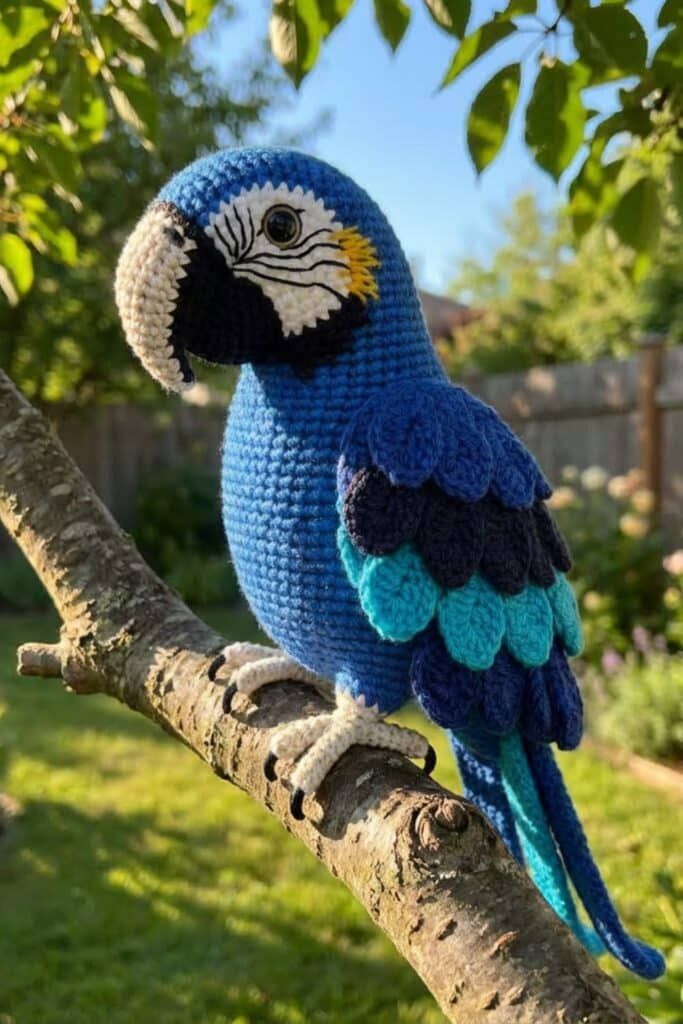
Image From Pinterest
Before you start crocheting your Tweety Bird Amigurumi, it’s essential to gather all the necessary materials. Having everything ready at hand will help you move smoothly through the process.
DISCOVER MORE FREE PATTERNS HERE!
Gathering these materials before you start will set you up for a smooth crafting experience, so let’s move on to the fun part: crocheting Tweety Bird!
Now that you have everything ready, it’s time to begin the process of creating your Tweety Bird Amigurumi. Follow these simple steps to crochet each part of Tweety, and then assemble them for a finished, lovable character.
To begin, you will crochet Tweety’s head, which is the main feature of this cute bird. Start by creating a magic ring and crochet six single crochet (sc) stitches into it. As you continue, increase stitches in each round to form the spherical shape of Tweety’s head. Make sure to stuff it lightly as you go to give the head shape and structure.
After the head is finished, move on to the body. The body will be slightly smaller and more oval-shaped than the head. Work in rounds, increasing as needed, to form the body. Don’t forget to stuff the body with fiberfill as you crochet, ensuring it stays firm but still cuddly.
Tweety’s beak is a small but important feature. To create the beak, start by crocheting a small triangle using orange yarn. It should be small enough to sit neatly in the center of the face. Once finished, sew the beak onto the front of the head.
Next, create the wings. Tweety’s wings are small and simple, with a rounded shape. To crochet the wings, make two small oval shapes using yellow yarn. Once completed, sew the wings securely to either side of the body, making sure they’re positioned symmetrically.
The feet are essential to Tweety’s character, and they should be crocheted in orange yarn. Start by making a few small rounds to create Tweety’s feet, adding a few simple stitches for the toes. Once the feet are finished, stuff them lightly with fiberfill and sew them onto the bottom of the body.
Tweety’s large eyes are key to capturing his sweet and playful personality. Position the safety eyes near the top of the head, making sure they are symmetrical. Once the eyes are in place, attach them securely to the head.
Now that all the parts are ready, it’s time to assemble Tweety Bird. Start by attaching the head to the body, positioning it carefully to ensure it looks natural. Then, sew the wings, feet, and beak into place. Finally, adjust the positioning of the eyes, if needed, and make sure everything is firmly attached.
Once you’ve assembled all the parts, you’ll have a delightful Tweety Bird Amigurumi!
While the basic Tweety Bird Amigurumi pattern is adorable as it is, there are several ways to personalize your Tweety and make it even more unique. Here are some fun ideas for customizing your crochet Tweety:
Tweety Bird is known for being playful and fun, so why not add accessories? Try crocheting a little hat, scarf, or bow tie to give Tweety a quirky, personalized look. A tiny flower or a cute pair of sunglasses would also be adorable!
While Tweety is often happy and cheerful, you can give him a different expression by adjusting the position of the eyes and mouth. Make him look surprised, winking, or even sleepy for added fun.
If you love amigurumi, why not crochet a whole family of Tweety Birds? You can make Tweety’s siblings or even create Tweety in different sizes. Changing up the size will give you a unique collection of these cheerful birds.
While Tweety is traditionally yellow, you can experiment with other color combinations. Make a Tweety with different shades of yellow or use pastel yarns for a softer look. You could even crochet a Tweety with a rainbow-colored body for a whimsical twist!
You can add little details to enhance the texture of Tweety’s body and wings. Try using a stitch like the puff stitch to add texture or embroidery to create more detailed features like eyebrows or little feathers.
By customizing your Tweety Bird Amigurumi, you can make it even more special and reflect your unique style!
Here are some helpful tips to ensure that your Tweety Bird Amigurumi turns out just as cute as you envision:
Crochet with even tension to ensure your stitches are tight and consistent. This will help create a smooth, seamless look for Tweety’s body and face.
Using stitch markers will help you keep track of your rounds and make sure the shaping of your amigurumi stays on point. They can also prevent you from accidentally missing stitches.
When attaching the wings, feet, and beak, be sure to sew them on securely. This will prevent them from falling off or shifting positions after you’ve finished your amigurumi.
Be careful not to overstuff Tweety Bird. While it’s important to give the body and head enough structure, you want Tweety to have a soft and cuddly feel. Add stuffing in small amounts to avoid making it too firm.
Tweety’s eyes are a signature feature of his face, so be sure to place them in a position that makes him look cute and expressive. You can adjust the size of the eyes to fit the overall scale of your amigurumi.
The time it takes to crochet your Tweety Bird depends on your skill level and how much time you dedicate to the project. Typically, it will take a few hours over the course of a couple of days.
Yes! While yellow is the most common choice, you can use any yarn color you like. Feel free to experiment with different shades of yellow, or even use pastel colors for a different effect.
Yes, you can sell the amigurumi you make, but always make sure to credit the original pattern creator if necessary. Be sure to check any copyright or trademark restrictions regarding Tweety Bird if you plan to sell it.
You can make Tweety’s eyes more expressive by adjusting their placement or adding eyelids or eyelashes with embroidery. You could also change the position of the eyes slightly to give Tweety different emotions.
or smaller? Yes! You can easily adjust the size of Tweety Bird by changing the yarn weight and hook size. For a larger Tweety, use thicker yarn and a larger hook. For a smaller Tweety, use thinner yarn and a smaller hook.
Creating a Tweety Bird Amigurumi is a fun and rewarding project that results in an adorable crochet creation. By following this guide, you can make your own Tweety Bird, customize it, and add personal touches to make it even more special. Whether you’re making it for yourself or as a gift, Tweety is sure to bring joy and smiles to anyone who sees him!
We’d love to hear your thoughts and see your completed Tweety Bird Amigurumi! Please leave a comment below with your feedback, suggestions, or any ideas for future projects. Happy crocheting!