If you’re searching for the perfect crochet project that combines comfort and style, look no further than The Carwyn Throw. This beautiful and versatile blanket is a must-try for any crochet enthusiast, whether you’re a seasoned pro or a beginner.
With its elegant texture and cozy feel, The Carwyn Throw is sure to become a cherished addition to your home.
In this article, we’ll provide you with the complete free crochet pattern for The Carwyn Throw, including all the materials you’ll need, step-by-step instructions, and some useful tips to ensure a smooth and enjoyable crocheting experience. Let’s dive in and learn how to create this gorgeous throw blanket!
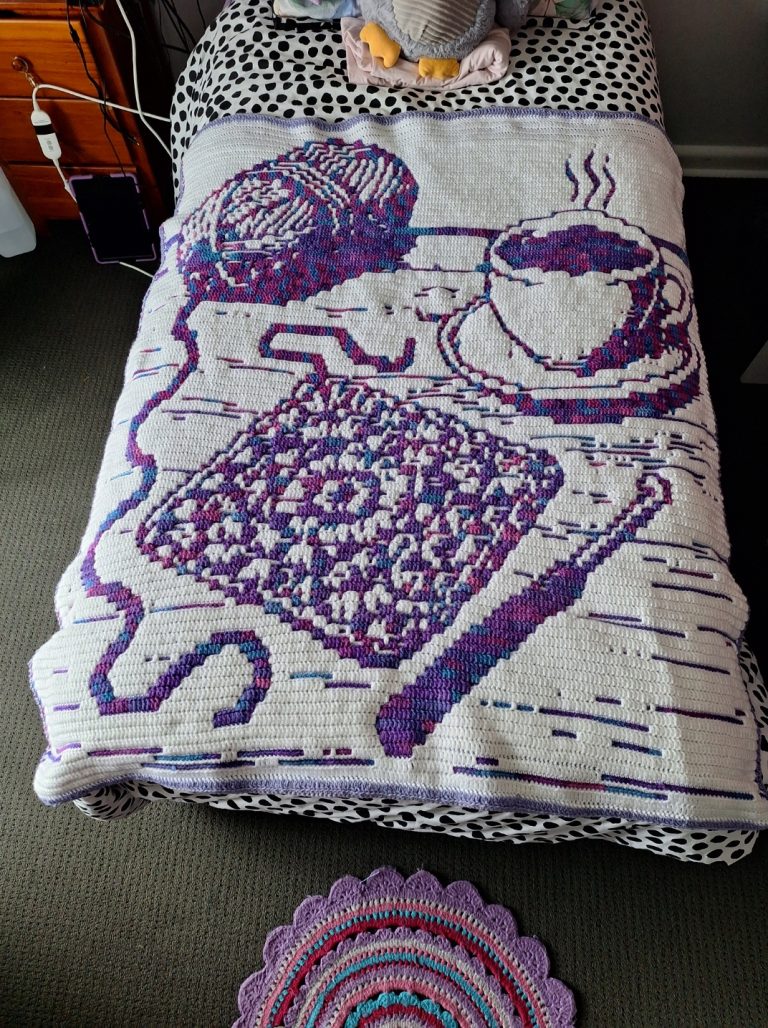
Image From Pinterest
1. Materials Needed for The Carwyn Throw
Before you start crocheting The Carwyn Throw, it’s important to gather the right materials. Below is a list of what you’ll need to complete your project:
DISCOVER MORE FREE PATTERNS HERE!
- Yarn:
- The yarn you choose will determine the texture and comfort of your blanket. For The Carwyn Throw, it’s recommended to use a soft and cozy yarn such as a worsted weight yarn. A cotton or acrylic blend will provide warmth without being too heavy.
- A good yarn option is a bulky or chunky yarn, which will create a thick, plush texture perfect for a throw blanket.
- You’ll need approximately 1200-1500 yards of yarn for a standard-sized throw blanket.
- Crochet Hook:
- The recommended crochet hook size for The Carwyn Throw is an 8mm (L-11) hook. This size works well with the bulky yarn, allowing for the right balance of drape and texture.
- Yarn Needle:
- A yarn needle is necessary to weave in the loose ends when you’re done crocheting. This helps give your throw a professional, polished finish.
- Scissors:
- A pair of sharp scissors will come in handy when trimming your yarn after finishing each section of the throw.
- Measuring Tape:
- A measuring tape will help you track the dimensions of your throw as you work, ensuring that it reaches your desired size.
- Stitch Markers (Optional):
- Stitch markers can help you keep track of your stitches, especially during the initial rows of the pattern.
2. Step-by-Step Instructions for The Carwyn Throw
The Carwyn Throw is a simple, yet stunning project that uses basic crochet stitches to create a gorgeous texture. Whether you’re an experienced crocheter or just learning, this pattern will guide you through every step.
2.1. Foundation Chain
- Make the Foundation Chain:
- Start by making a foundation chain of 110 stitches (or the desired width of your throw). You can adjust the width by adding or subtracting chains in multiples of 2 to suit your preference.
- Turning Your Work:
- After you’ve completed the foundation chain, turn your work to begin the first row.
2.2. Row 1 – Half Double Crochet (HDC)
- HDC Stitches:
- For Row 1, yarn over and insert your hook into the 3rd chain from your hook. Yarn over again and pull through, creating three loops on your hook. Yarn over once more and pull through all three loops to complete a half double crochet.
- Continue this process across the entire row until you reach the end. Chain 2 at the end of the row and turn your work.
2.3. Row 2 – Shell Stitch
- Start the Shell Stitch:
- For Row 2, chain 1, then skip the first stitch. In the next stitch, make a shell by working 5 double crochets into the same stitch.
- Skip 2 stitches, and then repeat the shell stitch in the next stitch. Continue this pattern across the row. At the end of the row, chain 1 and turn your work.
- Continue with Shell Stitches:
- Keep repeating the shell stitch pattern in every alternate stitch across the row. The result will be a beautifully textured pattern that adds depth to your Carwyn Throw.
2.4. Rows 3-12 – Repeat the Pattern
- Repeating Rows:
- Repeat Rows 1 and 2 until you reach the desired length of your throw. Make sure to maintain the same number of shell stitches across the rows to keep the pattern consistent. You should see a beautiful textured fabric start to form as you crochet.
- Adjusting Length:
- If you want a longer or shorter throw, simply continue adding more rows. Just be sure to maintain the pattern of alternating between half double crochet and shell stitches.
2.5. Finishing Your Throw
- Finishing the Last Row:
- When you’ve reached the desired length, complete the last row of half double crochet stitches. This will give the blanket a clean, even edge.
- Adding a Border (Optional):
- If you’d like to add a border to The Carwyn Throw, work a round of single crochet stitches all the way around the entire blanket. You can add a second round of half double crochet for a thicker border.
- Weaving in the Ends:
- Once the blanket is complete, use a yarn needle to weave in any loose ends left from your starting chain or color changes.
3. Tips for a Beautiful Carwyn Throw
Here are some tips to ensure your Carwyn Throw turns out beautifully:
- Maintain Even Tension:
- Keep an even tension throughout your stitches to ensure that the throw doesn’t become too tight or too loose. An even tension will help the blanket maintain a smooth, consistent texture.
- Use a Soft Yarn:
- Since this is a throw blanket, you want it to be soft and comfortable. Opt for a yarn that feels pleasant to the touch, such as a cotton-blend or acrylic yarn.
- Customize with Color:
- Feel free to get creative with your colors! You can use one solid color for a classic look, or alternate between two or more colors to create a striped effect. If you’re making The Carwyn Throw as a gift, consider the recipient’s favorite colors to make it more personal.
- Check Your Gauge:
- If you’re aiming for a specific size, be sure to check your gauge before starting the blanket. Crocheting a small swatch to check your tension will help you ensure the throw turns out the right size.
- Don’t Be Afraid to Experiment:
- While the pattern calls for half double crochet and shell stitches, feel free to experiment with different stitch patterns if you want to add more texture or visual interest to your blanket.
4. FAQ
1. How big is the finished Carwyn Throw?
The finished size of The Carwyn Throw will depend on how many rows you complete. Typically, this throw is around 50 inches by 60 inches, but you can adjust the size by adding or removing rows to suit your preferences.
2. Can I make this throw using a different weight of yarn?
Yes, you can use a different weight of yarn, but keep in mind that it may affect the size and texture of the throw. If you use lighter yarn, you may need to adjust the number of stitches and rows to achieve the desired size.
3. Can I add a different stitch to the pattern?
Absolutely! While the pattern uses half double crochet and shell stitches, you can easily experiment with other stitches like granny squares, popcorn stitches, or even simple single crochets to change the texture of the throw.
4. How can I make the Carwyn Throw larger or smaller?
To make the throw larger, simply increase the number of foundation chains you start with and add more rows. To make it smaller, reduce the number of chains and rows. Just be sure to adjust your pattern to maintain the correct stitch count.
5. How long does it take to complete The Carwyn Throw?
The time it takes depends on your experience and how much time you can dedicate to the project. On average, it might take a few days to a week to complete the throw, depending on your crochet speed and the size you’re making.
PATTERN HERE
Conclusion
The Carwyn Throw is a cozy, stylish project that will bring warmth and texture to any room. With its simple yet elegant design, it’s a perfect project for both beginners and experienced crocheters alike. By following this easy-to-follow crochet pattern, you can create a beautiful throw that’s sure to become a favorite in your home. Enjoy the process, and don’t forget to share your results and feedback in the comments! Happy crocheting!