The Beautiful Bugs Blanket CAL (Crochet-Along) is a vibrant and whimsical crochet project that is perfect for those who want to add some fun and creativity to their crocheting repertoire.
This blanket features intricate designs of bugs, flowers, and nature-inspired motifs that come together to create a beautiful and colorful blanket. Whether you’re new to crochet or a seasoned pro, this pattern will provide an enjoyable experience and result in a stunning piece.
In this article, we will walk you through the process of creating the Beautiful Bugs Blanket, from gathering your materials to following along with the crochet instructions and finishing off your piece. This crochet-along project is a fantastic way to practice your skills and create a work of art that you’ll be proud to display.
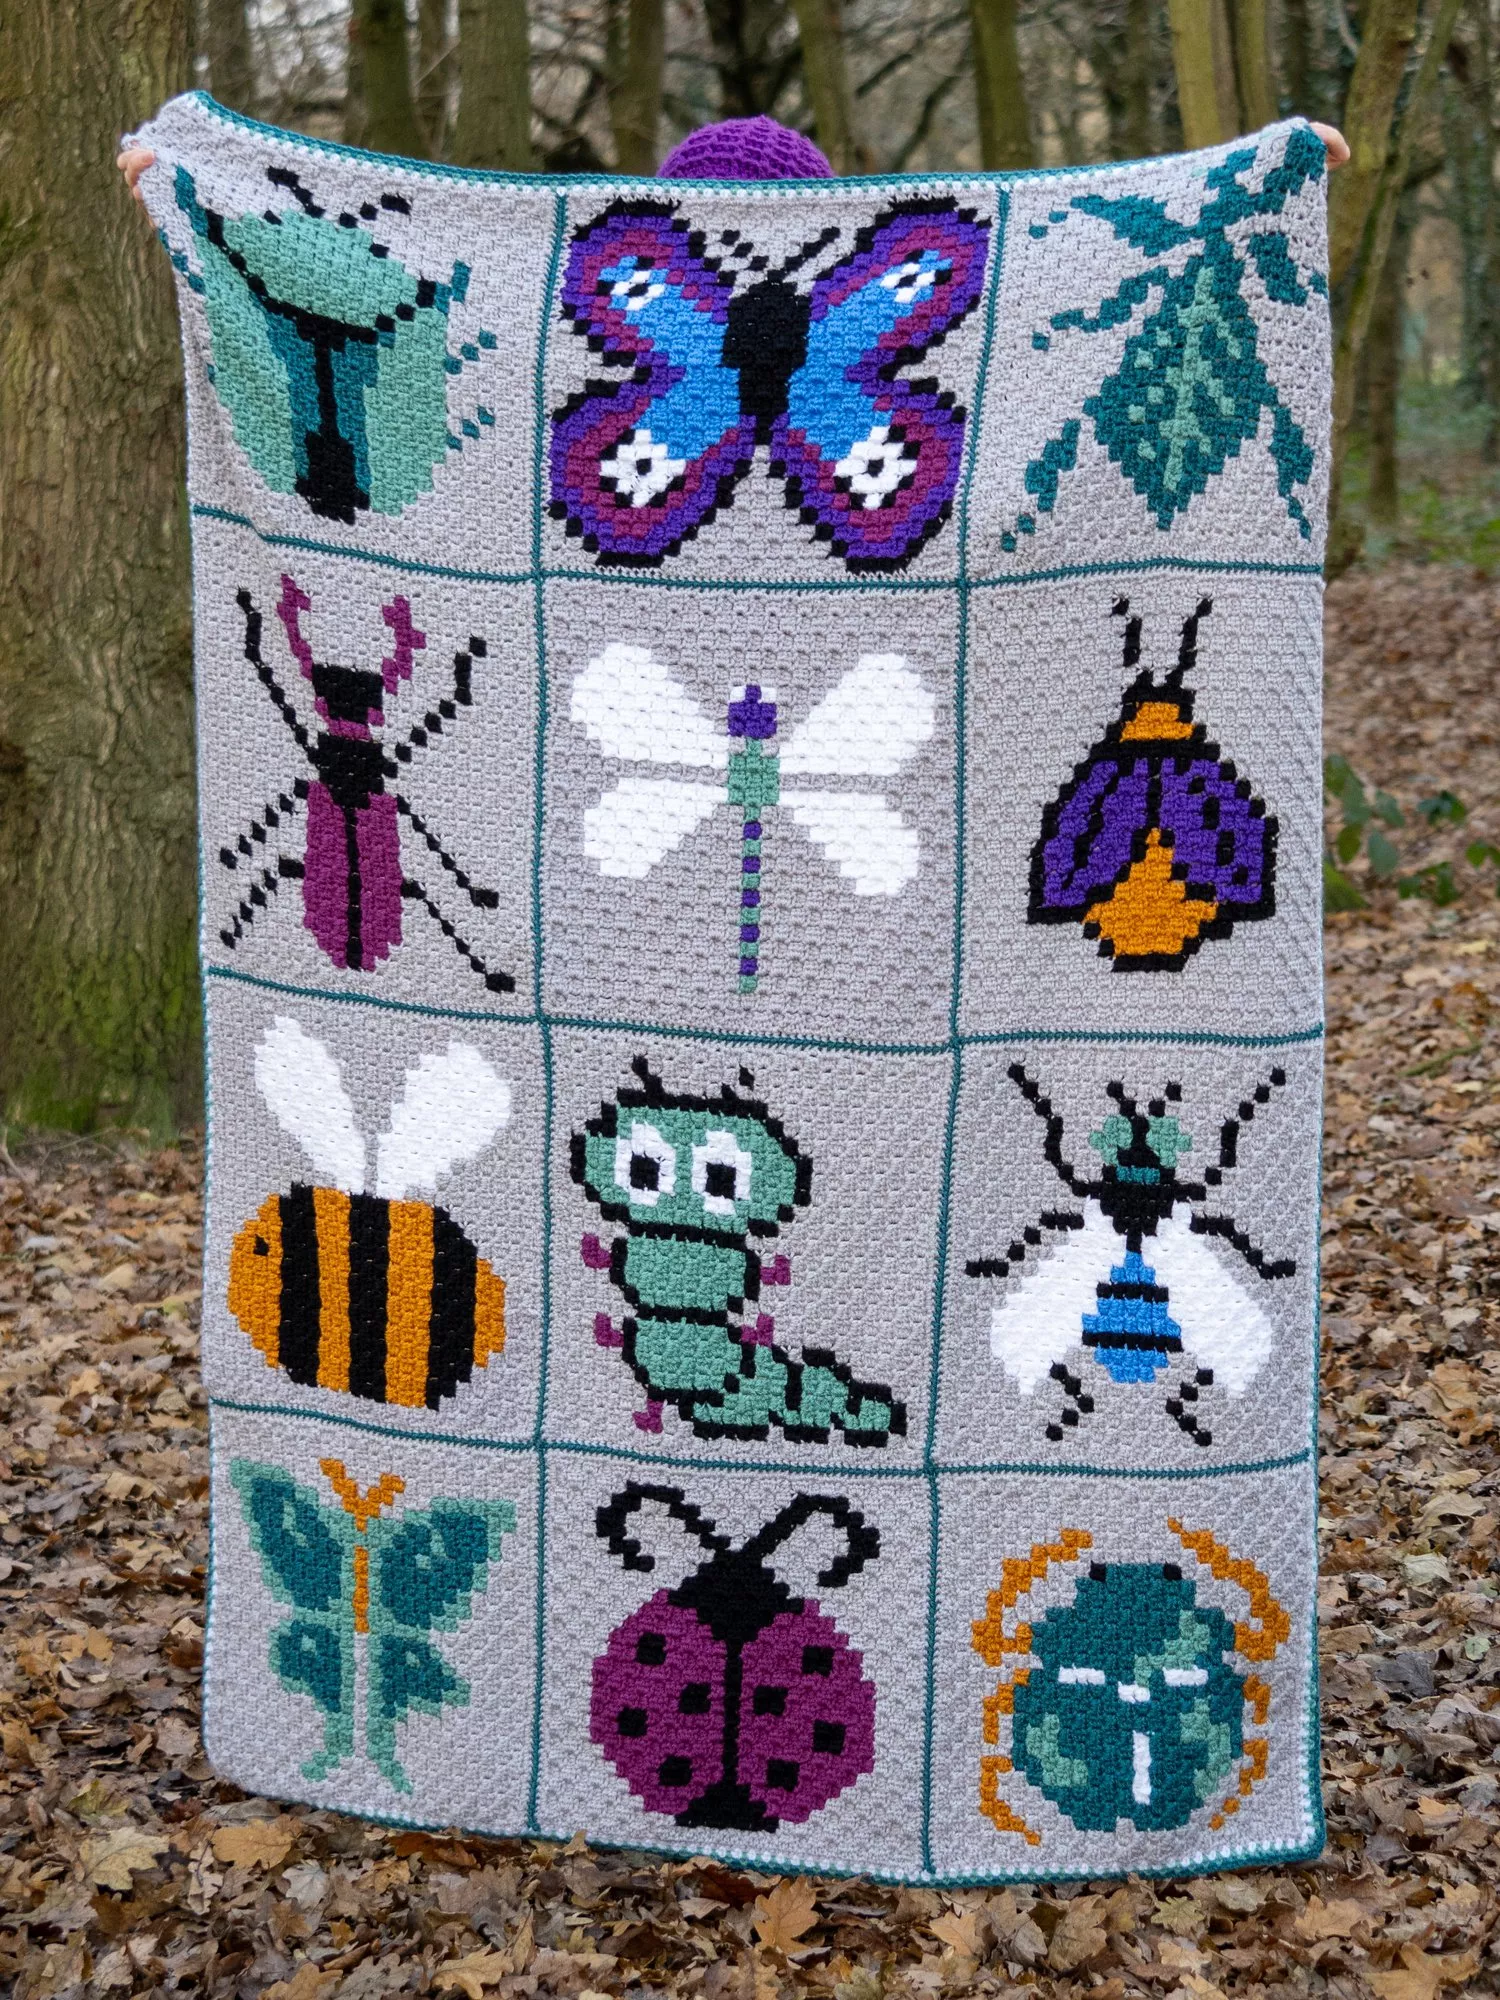
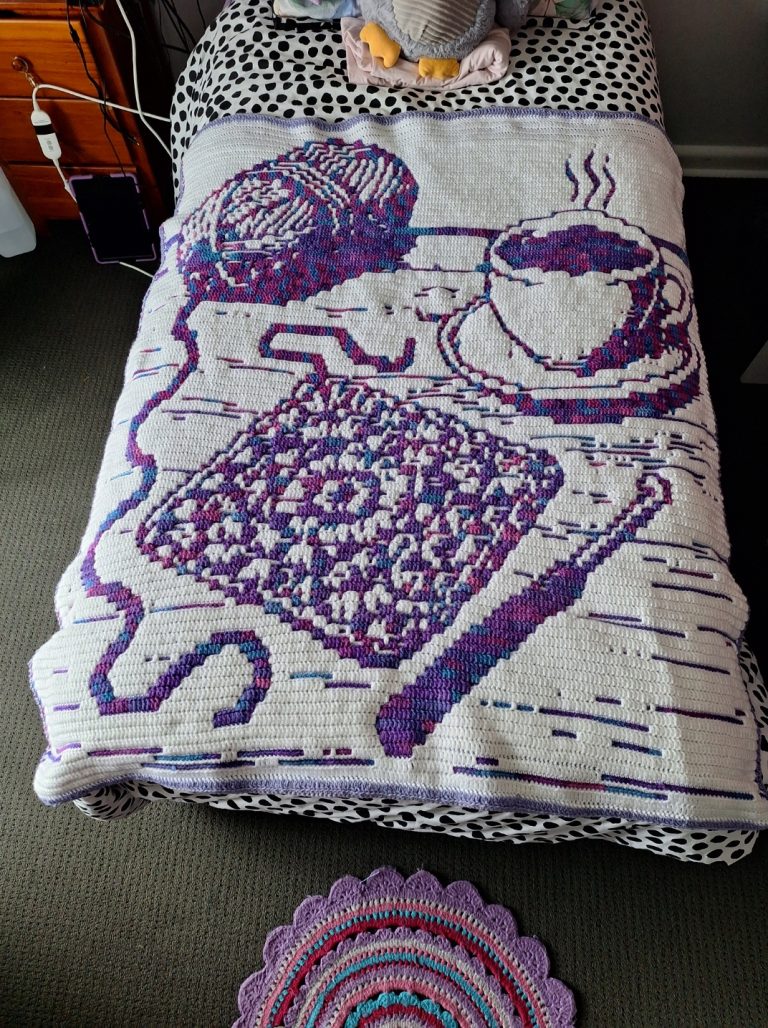
Image From Pinterest
1. Materials Needed for the Beautiful Bugs Blanket
Before you get started on your Beautiful Bugs Blanket CAL, it’s important to gather all the materials you will need. The right tools and yarn will ensure that your blanket turns out as beautiful as the pattern.
DISCOVER MORE FREE PATTERNS HERE!
- Yarn:
- This blanket requires yarn in various colors to represent the bugs, flowers, and nature-themed elements. Choose a soft yarn like worsted-weight acrylic or cotton yarn for comfort and durability. You can use multiple colors, including shades of green for leaves, yellows and oranges for bugs, blues and purples for flowers, and soft whites and creams for backgrounds.
- Crochet Hook:
- A 4.0mm (G-6) or 5.0mm (H-8) crochet hook works well with worsted weight yarn, but be sure to check your yarn’s recommended hook size.
- Yarn Needle:
- You will need a yarn needle to weave in the loose ends once you’ve finished crocheting.
- Scissors:
- A good pair of scissors is essential for cutting your yarn after you finish each section.
- Stitch Markers:
- Stitch markers will help you keep track of your rounds or rows, especially when working with intricate designs and patterns.
- Measuring Tape:
- If you’d like to maintain specific dimensions for your blanket, a measuring tape is useful to ensure each part of your design is the correct size.
- Pattern Instructions:
- The Beautiful Bugs Blanket CAL comes with detailed pattern instructions. It is essential to follow along with the instructions closely, especially if you are following a crochet-along where you receive a new section each week.
2. Step-by-Step Instructions for the Beautiful Bugs Blanket CAL
The Beautiful Bugs Blanket CAL is divided into sections or “weeks” where you will create different motifs and patterns for the bugs and floral designs. Below is a general overview of the steps you’ll follow in the CAL, including a few helpful tips along the way.
2.1. Starting Your Blanket
- Foundation Chain:
- Begin by making a foundation chain that is the width of your blanket. This chain should be a multiple of the stitch count in the pattern to ensure that your rows work out evenly. For a standard blanket size, a chain length of 150-200 stitches is a good starting point, depending on the desired width.
- First Row:
- Work your first row of stitches according to the pattern, which typically involves single crochet, half-double crochet, or double crochet stitches. Follow the pattern closely to ensure the first row is the correct foundation for the rest of the blanket.
- Joining New Colors:
- For the Beautiful Bugs Blanket, color changes will be frequent as you work through different sections representing bugs, flowers, and other elements of nature. Always remember to change yarn colors at the end of a row or round and secure the new yarn tightly to avoid loose stitches.
2.2. Crocheting the Bug and Floral Motifs
One of the most exciting parts of the Beautiful Bugs Blanket CAL is creating the intricate bug and floral motifs that bring the blanket to life. These motifs can include ladybugs, bees, butterflies, and flowers.
- Ladybug Motif:
- Begin by creating a circle with black yarn. Use a magic ring or chain method to form the circle. Once the circle is formed, crochet in the round, adding red stitches to create the body of the ladybug, then black stitches for the head and wings.
- For the spots on the ladybug, use black yarn to add small spots using a surface slip stitch.
- Bee Motif:
- To crochet a bee, start with a yellow body. You can use black yarn to create stripes around the bee’s abdomen. Work in the round and finish off the bee’s wings by crocheting white or light blue yarn, shaping them into an oval shape to attach to the body.
- Butterfly Motif:
- The butterfly is another fun motif to crochet. Begin with a small circle for the center of the butterfly’s body, and then crochet the wings using bright colors like purple, pink, and blue. Shape the wings with picot stitches or other lace techniques to give them a delicate look.
- Flower Motif:
- For the flowers, begin with a small circle or chain to form the center, and then work your way outwards with petals using a variety of colors, like yellow, red, pink, or purple. You can also add a few leaves around the flower using green yarn.
- Connecting the Motifs:
- Once you’ve completed the individual motifs, you will join them together by crocheting through the outer loops of each piece, attaching them in rows or grids. This will create a beautiful, seamless effect across the blanket.
2.3. Completing the Blanket
Once the motifs are completed and joined together, you’ll need to finish off your blanket with a border to give it a polished and finished look.
- Choosing the Border:
- For the Beautiful Bugs Blanket, choose a simple border that won’t detract from the intricate bug and flower motifs. A single crochet or a shell stitch border works well. You can also incorporate additional colors that will tie together the different elements of your blanket.
- Adding the Border:
- To add a border, work around the entire blanket using your chosen stitch. You can work one round of single crochet, then follow up with a round of double crochet or half-double crochet for added texture. Adjust the stitch count as needed for the blanket’s size and your chosen border.
- Weaving in the Ends:
- Be sure to weave in any loose yarn ends from the color changes and the joining of motifs. This can be done with a yarn needle by threading the yarn through the stitches along the back of the blanket.
3. Tips for a Successful Beautiful Bugs Blanket CAL
As you work through the Beautiful Bugs Blanket CAL, here are a few tips to ensure your project is successful:
- Stay Consistent with Tension:
- Try to maintain consistent tension throughout the blanket so that all the stitches and motifs are uniform in size. If you notice your stitches are too tight or loose, adjust your tension as needed.
- Keep Track of Your Color Changes:
- Because this project involves multiple color changes, keep a small chart or notes to track which color to use for each motif or section. This will help prevent mistakes and save time later on.
- Take Breaks and Enjoy the Process:
- The Beautiful Bugs Blanket CAL is a large project that will take some time to complete, so be sure to take breaks and enjoy the process. Don’t rush through the sections—appreciate the artistry and craftsmanship of each motif.
4. FAQ
1. Can I use any yarn for this project?
Yes, you can use any yarn of your choice, but worsted weight acrylic or cotton yarns are recommended for comfort and durability. Ensure you use colors that match the theme of bugs and flowers.
PATTERN HERE
2. How can I make my blanket bigger or smaller?
You can make your blanket bigger by adding more squares or motifs and adjusting the number of rows and rounds. To make it smaller, simply reduce the number of motifs or the number of rows you crochet.
3. Is the pattern beginner-friendly?
The Beautiful Bugs Blanket CAL is suitable for intermediate crocheters due to its detailed motifs. However, beginners who are willing to follow the instructions carefully and practice basic stitches will also enjoy this project.
4. How do I make sure the motifs fit together evenly?
When joining the motifs, it’s important to crochet them together using consistent tension and matching stitch counts to avoid uneven gaps or bunching. Blocking your motifs before joining them can also help them align properly.
5. Can I use a different technique to join the motifs?
Yes, you can use a variety of joining techniques, such as whip stitch, slip stitch, or even the join-as-you-go method. Choose the technique that works best for you and your design.
Conclusion
The Beautiful Bugs Blanket CAL is a fun and colorful crochet project that brings the world of nature to life with each stitch. By creating intricate bug and floral motifs, you will end up with a beautiful, whimsical blanket that will be a true conversation piece. We hope you enjoy crocheting this project and are inspired to share your work with others. Don’t forget to leave your thoughts and suggestions in the comments below—we love hearing about your creations! Happy crocheting!