If you’re looking for a crochet project that is both relaxing and visually stunning, the Pastel Tiles Blanket is an excellent choice. This cozy blanket, made from soft pastel-colored yarn, features a beautiful combination of small, interlocking tiles that create a charming, textured design.
Whether you’re a beginner or an experienced crocheter, this pattern is perfect for creating a soft, cuddly piece that will add warmth and beauty to your home.
In this article, we will guide you through the process of creating your own Pastel Tiles Blanket. You’ll learn about the materials you’ll need, step-by-step instructions for making the tiles, how to assemble them, and tips for customizing your blanket to suit your style. Let’s dive into this soothing crochet project that’s perfect for any season.
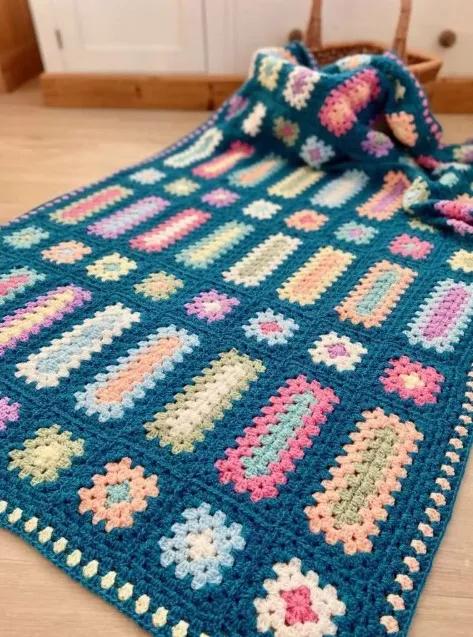
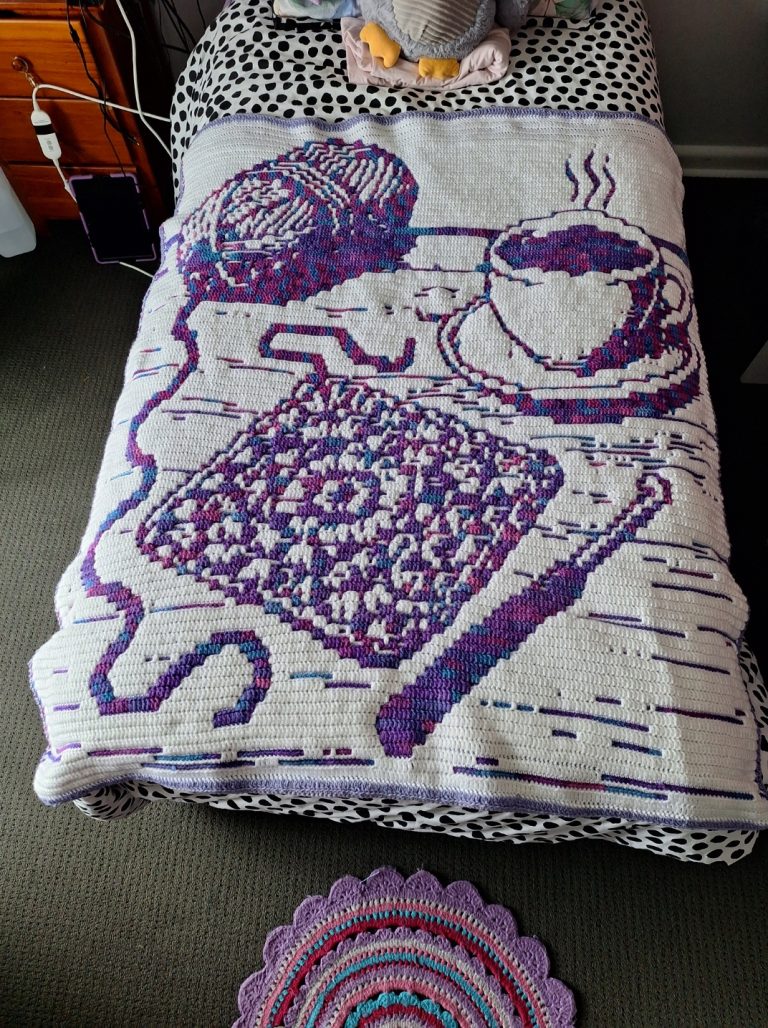
Image From Pinterest
1. Materials Needed for the Pastel Tiles Blanket
Before you begin crocheting your Pastel Tiles Blanket, it’s essential to gather all the materials you’ll need. This project requires only a few basic supplies that you might already have in your crochet kit.
DISCOVER MORE FREE PATTERNS HERE!
- Yarn:
- For this blanket, choose soft pastel yarns. A lightweight worsted weight yarn (like Red Heart Super Saver or Lion Brand Vanna’s Choice) works perfectly. You can use any combination of pastel colors, such as soft pink, lavender, mint green, pale yellow, and baby blue.
- Crochet Hook:
- You will need a crochet hook that suits the yarn weight. Typically, a 5mm (H-8) hook is ideal for worsted weight yarn, but check the yarn label for recommended hook sizes.
- Yarn Needle:
- A yarn needle is necessary for weaving in the loose ends after you’ve finished crocheting each tile and joining them together.
- Scissors:
- You’ll need a pair of scissors to cut the yarn after each color change or when finishing off the tiles.
- Measuring Tape (optional):
- If you want your blanket to be a specific size, a measuring tape can help you ensure each tile is the correct size.
- Stitch Marker (optional):
- A stitch marker will be useful to keep track of the beginning of each round, especially when working in the round to create the tiles.
2. Step-by-Step Instructions for the Pastel Tiles Blanket
The Pastel Tiles Blanket is made by creating small, individual tiles and then joining them together. Each tile consists of several rounds of crochet stitches. Below is a simple step-by-step guide to help you complete your blanket.
2.1. Making the First Tile
The first tile is made using the classic granny square method, with a few modifications to create the tile pattern.
- Start with a Magic Ring:
- Begin by making a magic ring (also called a magic loop) with your first pastel color. If you’re unfamiliar with the magic ring, it’s simply a loop made by wrapping the yarn around your fingers, pulling through, and crocheting into the ring.
- Round 1:
- Chain 3 (this counts as the first double crochet), then work 2 double crochets into the ring. After that, make 2 chain stitches and then work 3 double crochets into the ring again. Repeat this sequence two more times to create four groups of 3 double crochets separated by 2 chain stitches.
- Slip stitch into the top of the first chain 3 to join the round.
- Round 2:
- Change to the next pastel color, and join it in any chain space from the previous round.
- Chain 3 (counts as the first double crochet), then work 2 double crochets into the same chain space. After that, make 2 chain stitches and work 3 double crochets into the next chain space. Repeat this process for all the chain spaces, ending with a slip stitch to join the round.
- Round 3 (and beyond):
- Continue working in the same manner, changing colors as you go, and adding new rounds with 3 double crochets in each chain space, separated by 2 chain stitches. Continue until your tile reaches your desired size, which will typically be around 6-8 inches for a standard-sized blanket.
2.2. Changing Colors for the Pastel Tiles
The beauty of the Pastel Tiles Blanket lies in the color changes. Each tile is made from a different pastel color, creating a soft, gradient effect. To change colors:
- Finish the Round:
- When you’re at the end of a round, finish the last stitch of that round using the new color.
- Start the New Color:
- To join a new color, simply drop the old yarn (leaving a tail) and pull the new color through to finish the stitch.
- Work the New Color:
- Continue crocheting with the new color for the following rounds, using the same technique for double crochets and chain stitches.
Remember to leave tails of yarn after each color change, as you will need to weave them in later.
2.3. Assembling the Pastel Tiles Blanket
Once you’ve completed a number of tiles, it’s time to join them together. There are several methods for joining squares, but the most popular for the Pastel Tiles Blanket is the whip stitch or slip stitch method.
- Lay Out the Tiles:
- Lay the completed tiles out in a grid pattern. You can arrange them in rows of equal sizes. Make sure to rotate or rearrange them until you’re happy with the overall look and color distribution.
- Joining the Tiles:
- Using your yarn needle and the same yarn you used for the tiles, align the edges of two tiles, and whip stitch or slip stitch them together along the edges.
- Repeat this process for each row, joining each tile to the adjacent one. Once the rows are completed, join the rows together in the same way.
- Weaving in the Ends:
- After all tiles are joined together, use your yarn needle to weave in any loose ends from the color changes. Make sure to tuck the ends securely into the back of the blanket so they don’t come undone.
3. Creative Variations for Your Pastel Tiles Blanket
While the traditional pastel tile layout is beautiful on its own, you can further customize your Pastel Tiles Blanket to fit your style and preferences.
- Add Borders:
- Once your blanket is assembled, you can add a border around the edges. A simple border of single crochets or a more intricate design using different colors will add a finishing touch to your blanket.
- Mix Up the Tile Sizes:
- For an interesting twist, try varying the sizes of the tiles. You can make larger tiles for the center of the blanket and smaller tiles for the border, creating a unique and dynamic design.
- Try Different Color Palettes:
- While pastel colors work beautifully for this blanket, you can experiment with different color schemes. Try bright, bold colors for a fun and vibrant blanket, or go for neutral tones for a more subdued and calming effect.
- Add Textures:
- You can also add texture to your blanket by incorporating different crochet stitches, like the shell stitch or bobble stitch, into the tiles. This will add dimension and make your blanket even more eye-catching.
4. FAQ
1. Can I use a different yarn weight for this blanket? Yes! You can use any yarn weight you prefer, but make sure to adjust your hook size accordingly. A thicker yarn will create a larger blanket, while thinner yarn will result in a lighter, more delicate feel.
2. How many tiles will I need for a full blanket? This depends on the size of the blanket you want to make. For a standard throw-sized blanket, you’ll likely need around 30-50 tiles, depending on how large you make them.
3. How do I make my blanket bigger? To make a larger blanket, simply add more tiles! You can also adjust the size of each tile to make the project grow faster.
4. Can I make this blanket without changing colors? Absolutely! You can make a beautiful blanket using a single color or several shades of one color for a more monochromatic look. It will still look stunning.
5. How should I care for my finished blanket? Most pastel-colored yarns are machine washable, but always check the yarn’s care instructions. Wash your blanket on a gentle cycle and dry it flat to maintain its shape.
PATTERN HERE
Conclusion
The Pastel Tiles Blanket is a delightful and relaxing crochet project that produces a stunning, soft, and cozy result. Whether you’re using it to add a splash of color to your home decor or as a gift for someone special, this blanket is sure to be appreciated. We hope you enjoy making this beautiful project and experimenting with different color combinations and techniques. Please feel free to share your thoughts and any suggestions in the comments below! Happy crocheting!